
Can you tile a kitchen yourself? Absolutely! With careful planning and the right tools, a DIY tiling project in your kitchen is achievable, even for beginners. This guide will walk you through everything you need to know, from choosing tiles to the final sealing, making your kitchen a beautiful and durable space.
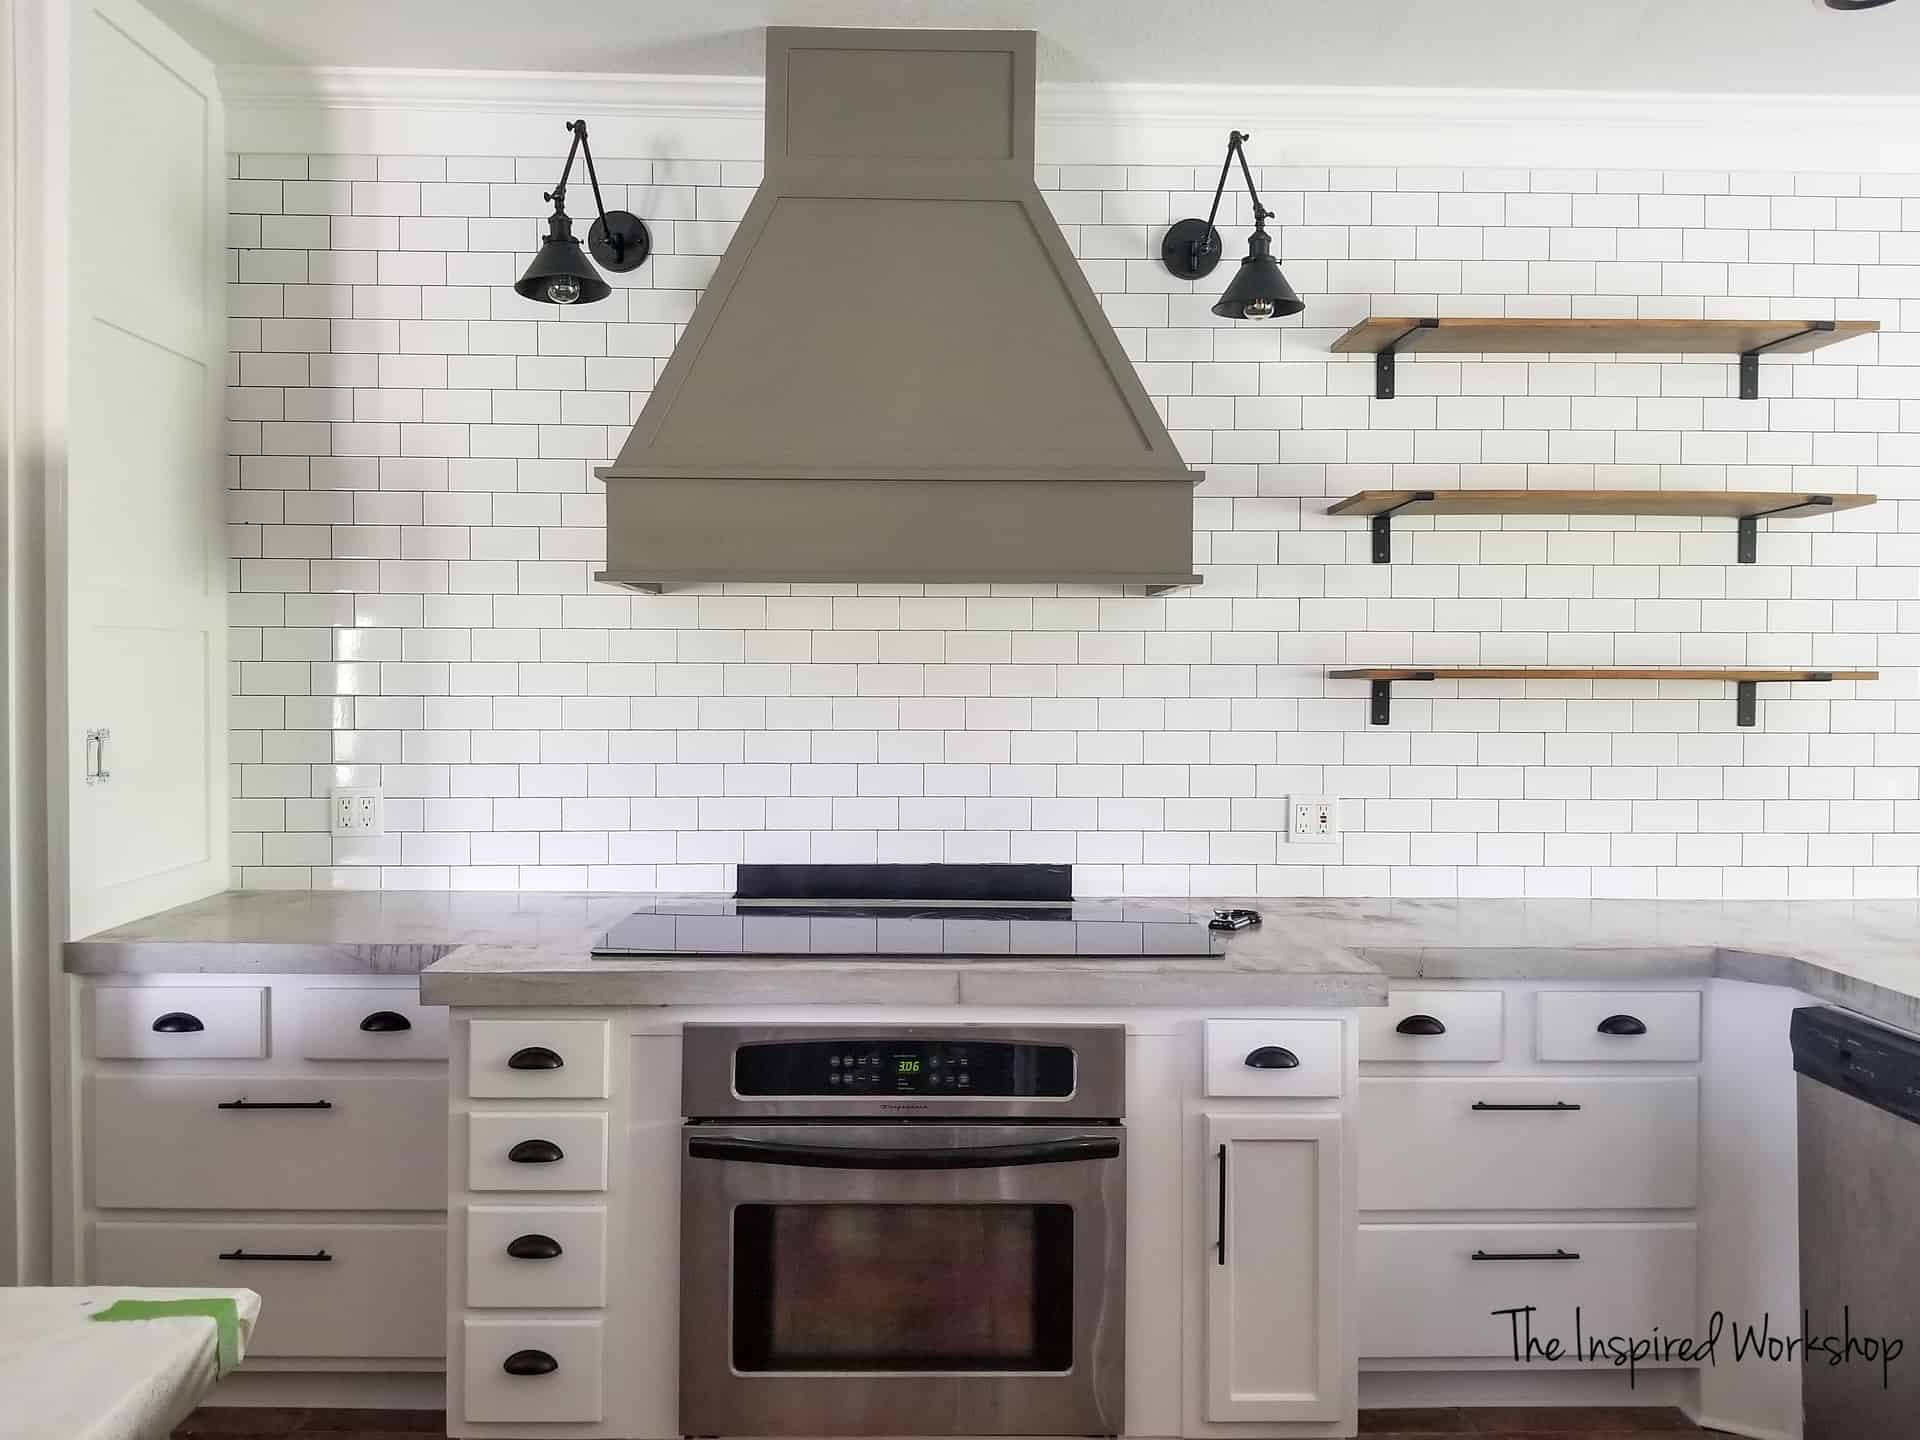
Image Source: theinspiredworkshop.com
Choosing Your Kitchen Tiles: The Foundation of Your Design
The first step in any tiling project is selecting the right tiles. This decision impacts not only the look of your kitchen but also its functionality and maintenance.
Factors to Consider When Choosing Kitchen Tiles
- Durability: Kitchens are high-traffic areas, prone to spills and wear. Opt for tiles that can withstand this.
- Water Resistance: Water splashes are inevitable. Tiles and grout should resist moisture to prevent staining and mold.
- Stain Resistance: Cooking can lead to grease and food stains. Choose materials that are easy to clean.
- Slip Resistance: Especially important for kitchen floors, you want tiles that offer good traction to prevent accidents.
- Aesthetics: This is where your personal style comes in. Consider the overall design of your kitchen and choose tiles that complement it.
Popular Kitchen Tile Materials
| Tile Material | Pros | Cons | Best For |
|---|---|---|---|
| Ceramic | Affordable, wide variety of styles, easy to cut and install. | Can chip or crack under heavy impact, less durable than porcelain. | Backsplashes, walls, and light-traffic floors |
| Porcelain | Highly durable, very dense, excellent water resistance, stain-resistant. | Harder to cut, can be more expensive than ceramic, heavier. | Kitchen floors, backsplashes, countertops |
| Natural Stone (e.g., Granite, Marble, Travertine) | Unique beauty, adds value to home, very durable (granite). | Porous (requires sealing), can be expensive, some are prone to staining or etching. | Floors, backsplashes, countertops |
| Glass | Reflective, modern look, easy to clean, water-resistant. | Can be prone to chipping, can be slippery if not textured, installation requires care. | Backsplashes, decorative accents |
| Subway Tile | Classic look, versatile, affordable, easy to install. | Grout lines can stain if not sealed, can chip. | Backsplashes |
| Mosaic Tile | Intricate designs, good for accents, can be made of various materials. | Small pieces can be difficult to lay evenly, grout lines can be numerous. | Backsplashes, accent areas, flooring borders |
Exploring Tile Layout Patterns
The way you arrange your tiles, or the tile layout patterns, significantly affects the final look.
- Grid Layout: The most common and straightforward pattern. Tiles are laid in straight, parallel rows and columns. This works well with almost any tile shape.
- Offset (Brick) Pattern: Tiles are staggered like bricks. This is popular for rectangular tiles like subway tiles and can create a dynamic visual.
- Herringbone Pattern: Tiles are laid in a V-shape, creating a zigzag effect. This adds a touch of sophistication but requires more precise cuts.
- Diagonal Pattern: Tiles are laid at a 45-degree angle to the walls. This can make small rooms appear larger.
- Basketweave Pattern: Typically uses square tiles interspersed with rectangular tiles to mimic a woven basket.
Preparing Your Surfaces: The Key to a Lasting Finish
Proper surface preparation is crucial for a successful DIY tiling guide. Skipping this step can lead to tiles lifting, grout cracking, or an uneven finish.
Preparing the Kitchen Floor for Tiling
- Clear the Area: Remove all appliances, furniture, and anything else from the floor.
- Inspect the Subfloor: Ensure it’s solid, level, and free from damage. Wooden subfloors may need an additional layer of cement board or a decoupling membrane, especially if there’s a risk of movement.
- Clean Thoroughly: Sweep, vacuum, and then clean the subfloor with a degreaser to remove any dirt, dust, grease, or old adhesive. The surface must be completely clean and dry.
- Leveling: If the subfloor is uneven, use a self-leveling compound. Follow the manufacturer’s instructions carefully.
Preparing Walls for Tile Backsplash Installation
- Clear the Area: Remove outlet covers, switches, and any hanging fixtures. Protect countertops and appliances with drop cloths.
- Inspect the Wall: The wall should be structurally sound and free from mold or water damage.
- Clean Thoroughly: Wash the wall with a mild detergent to remove grease and grime. A clean surface helps the adhesive bond properly.
- Repair Imperfections: Fill any holes or cracks with spackle or joint compound. Sand smooth once dry.
- Prime (if necessary): If you’re tiling over painted drywall, a good primer can improve adhesion. For areas prone to moisture, consider a mold-resistant primer.
Gathering Your Tools and Materials
Before you start laying tiles, ensure you have all the necessary tools and materials. This prevents interruptions and ensures a smooth workflow.
Essential Tools for Tiling
- Tape Measure: For accurate measurements.
- Pencil: For marking.
- Level: To ensure tiles are straight.
- Tile Saw (Wet Saw): Essential for making precise cuts, especially for porcelain and natural stone. A handheld tile cutter can work for simpler ceramic tiles.
- Notched Trowel: To spread adhesive evenly. The size of the notches depends on the tile size.
- Rubber Grout Float: For applying grout.
- Grout Sponge: For cleaning excess grout.
- Bucket: For mixing adhesive and grout, and for water.
- Utility Knife: For opening bags and scoring.
- Safety Glasses: To protect your eyes from dust and debris.
- Work Gloves: To protect your hands.
- Knee Pads: For comfort during prolonged work.
- Spacers: To maintain consistent grout lines.
- Caulk Gun: For applying sealant.
- Putty Knife or Scraper: For removing old adhesive or debris.
Essential Materials for Tiling
- Tiles: Your chosen kitchen tiles. Always buy about 10-15% extra to account for cuts and potential breakage.
- Tile Adhesive: The right tile adhesive types are critical for a strong bond. Common options include:
- Thin-set Mortar: A cement-based adhesive, ideal for most floor and wall tiling. It’s water-resistant and strong.
- Mastic: A pre-mixed adhesive, easier to use for backsplashes but less suitable for wet areas or heavy tiles.
- Grout: The material that fills the gaps between tiles.
- Sanded Grout: Contains sand, making it stronger and more durable for wider grout lines (1/8 inch or more).
- Unsanded Grout: Fine-grained, used for narrow grout lines (less than 1/8 inch) and delicate tiles like glass or polished stone to prevent scratching.
- Grout Sealer: Protects grout from stains and moisture.
- Silicone Caulk/Sealant: For sealing expansion joints, especially where the tile meets countertops, cabinets, or walls.
- Backer Board (if needed): Cement board or a decoupling membrane for floors or areas prone to moisture.
Mastering Tile Cutting Techniques
Accurate cuts are a hallmark of professional tiling. Here are some tile cutting techniques to master:
Basic Tile Cutting
- Scoring and Snapping: For ceramic and porcelain tiles, this is a common method.
- Use a handheld tile cutter. Score the surface of the tile firmly along your desired line with the cutting wheel.
- Place the tile over the breaker bar of the cutter, aligning the bar with the score line.
- Apply firm, even pressure to snap the tile.
Advanced Tile Cutting
-
Wet Saw: For complex cuts, curves, or harder tiles, a wet saw is indispensable.
- Adjust the blade guard to the correct height for your tile thickness.
- Mark your cut line clearly on the tile.
- Feed the tile slowly and steadily through the blade, ensuring the water reservoir keeps the blade cool and dust down.
- For curves, you might need a wet saw with a rip guide or a specialized tile nipper.
-
Tile Nippers: Useful for small, intricate cuts or around obstacles like outlets. Practice on scrap pieces first to get a feel for them.
-
Angle Grinder with Diamond Blade: Can be used for some cuts, especially around curves, but requires significant skill and safety precautions.
Remember to always wear safety glasses when cutting tiles.
Laying the Tiles: From Start to Finish
This is the most exciting part – seeing your design come to life!
Planning Your Tile Layout
Before mixing adhesive, lay out your tiles on the floor or wall in your chosen tile layout patterns. This helps you visualize the final look and determine where cuts will be needed. Start from the center of the room or a prominent focal point and work outwards. This ensures that any cuts are less noticeable and evenly distributed.
Applying Tile Adhesive
- Mix Adhesive: Follow the manufacturer’s instructions carefully. Mix in a clean bucket until it reaches a smooth, peanut-butter-like consistency. Let it slake (rest) for the recommended time, then remix.
- Spread Adhesive: Use the notched trowel to spread a thin, even layer of adhesive onto a small section of the wall or floor (about 2-3 square feet at a time). Hold the trowel at a 45-degree angle to create consistent ridges. This ensures good coverage and a strong bond.
Setting the Tiles
- Place the First Tile: Gently press the first tile into the adhesive with a slight twisting motion.
- Add Spacers: Insert tile spacers at the corners of each tile to maintain uniform grout lines.
- Continue Laying: Work in small sections, pressing each tile firmly into the adhesive. Use your level to ensure rows are straight and plumb.
- Check for Adhesive: Make sure adhesive isn’t oozing excessively through the grout lines. If it is, remove the excess with a putty knife.
- Wipe Away Excess: Use a damp sponge to wipe away any adhesive that smears onto the tile faces as you go.
Preparing Tile Surfaces for adhesion is crucial. Ensure your tiles are clean and dry before setting them. If using natural stone or porous tiles, check if they need a pre-sealer before installation.
Cutting and Fitting Around Obstacles
Measure carefully for cuts around outlets, windows, doors, and corners. Use your tile saw or nippers for these. Test-fit pieces before applying adhesive.
Grout Application: Filling the Gaps
Once the adhesive has dried and cured (usually 24-48 hours, check the adhesive packaging), it’s time for grout application.
Mixing and Applying Grout
- Mix Grout: Mix grout according to the manufacturer’s instructions. Aim for a consistency similar to thick toothpaste.
- Apply Grout: Scoop a generous amount of grout onto the tiled surface. Use a rubber grout float held at a 45-degree angle to spread the grout, forcing it into the spaces between the tiles. Work in diagonal strokes across the tiles to ensure all gaps are filled completely.
- Remove Excess Grout: Once the entire area is grouted, hold the float at a steeper angle (around 80 degrees) and scrape away the excess grout from the tile surface using diagonal strokes.
Cleaning the Grout Lines
- Initial Wipe: Wait about 15-20 minutes for the grout to start setting. Use a damp (not wet) grout sponge to gently wipe away the remaining grout haze from the tile faces. Rinse the sponge frequently in clean water.
- Second Wipe: After another 20-30 minutes, do a second wipe with a clean, damp sponge to remove any remaining haze. Be careful not to dig into the grout lines.
- Final Buffing: Once the grout is dry to the touch (usually after a few hours), use a clean, dry microfiber cloth to buff away any lingering haze.
Sealing Kitchen Tiles and Grout: Protecting Your Investment
Sealing kitchen tiles and grout is a vital step for durability and easy maintenance.
Why Seal?
- Grout: Grout is porous and can easily absorb stains from food, grease, and dirt. Sealing creates a barrier.
- Natural Stone Tiles: Many natural stones (like marble, travertine, and some granites) are also porous and require sealing to prevent staining and etching.
- Some Ceramic/Porcelain Tiles: While many are inherently stain-resistant, a sealer can add an extra layer of protection, especially for unglazed tiles.
Sealing Process
- Wait for Curing: Ensure both the tile adhesive and grout are completely dry and cured according to manufacturer instructions (this can take several days).
- Clean Thoroughly: The surface must be perfectly clean and dry.
- Apply Sealer: Use a small brush or applicator to apply the grout sealer to the grout lines. For tiles that require sealing, use a roller or applicator pad.
- Wipe Away Excess: Wipe any excess sealer off the tile faces immediately with a clean cloth before it dries.
- Apply Second Coat (if recommended): Some sealers recommend a second coat after a specific waiting period.
- Allow to Dry: Let the sealer dry completely as per the product instructions.
Frequently Asked Questions (FAQ)
Q1: How long does it take to tile a kitchen?
A1: The time varies significantly depending on the size of the area, the complexity of the layout, and your experience level. A small backsplash might take a weekend, while kitchen floor tiling could take several days to a week or more, including preparation and drying times.
Q2: Can I tile over existing tile?
A2: Yes, but only if the existing tile is firmly adhered to the subfloor and the surface is clean, level, and smooth. You may need to use a special primer or a thin-set mortar designed for multi-surface applications.
Q3: What is the best tile for a kitchen floor?
A3: Porcelain tiles are often considered the best for kitchen floors due to their durability, water resistance, and stain resistance. Natural stone can also be beautiful but requires more maintenance.
Q4: How do I clean grout?
A4: For regular cleaning, use a mild detergent and water. For tougher stains, a specialized grout cleaner or a paste of baking soda and water can be effective. Always rinse thoroughly.
Q5: How often should I reseal grout and tiles?
A5: This depends on the type of sealer used and the amount of traffic and exposure to moisture. Typically, grout sealer needs to be reapplied every 1-2 years. Natural stone tiles may require more frequent sealing.
Tackling a kitchen tiling project is a rewarding endeavor that can significantly enhance your home’s appearance and value. By following these steps, carefully choosing your materials, and taking your time, you can achieve professional-looking results. Happy tiling!