
Can you install a two-handle kitchen faucet yourself? Yes, absolutely! With the right tools and a clear guide, you can successfully replace your old kitchen faucet and enjoy a refreshed look and improved functionality without needing to hire a plumber. This comprehensive guide will walk you through the entire process, from shutting off the water to the final tightening of your new faucet.
Are you looking to replace kitchen faucet hardware that’s seen better days, or perhaps upgrade to a more stylish and efficient model? Installing a new two-handle kitchen faucet is a very achievable DIY project. This kitchen faucet installation guide is designed to empower you to install faucet without plumber, making your DIY kitchen faucet replacement a satisfying success. We’ll cover everything you need to know for a smooth two handle faucet replacement steps, including how to connect water lines faucet, securely mount kitchen faucet base, and the proper use of plumber’s putty faucet.
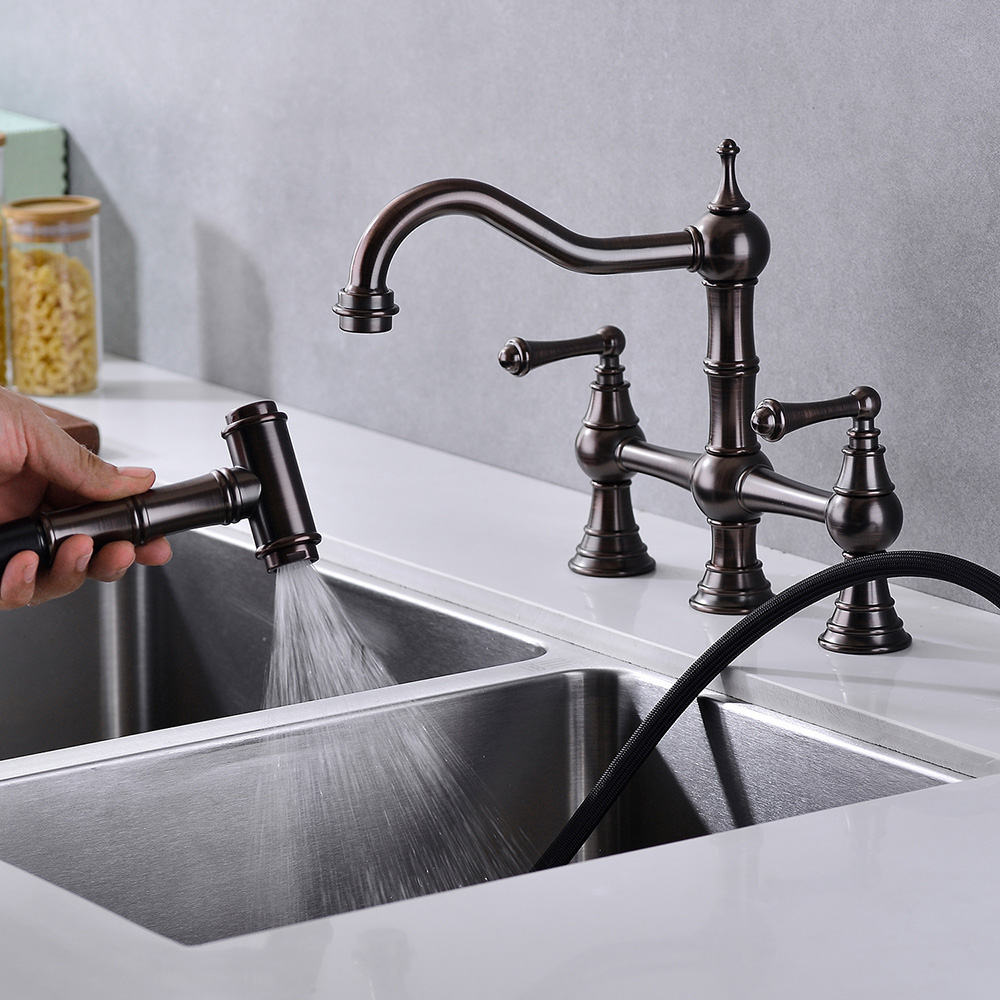
Image Source: contentgrid.homedepot-static.com
Gathering Your Tools and Materials
Before you begin, ensure you have all the necessary tools and materials. Having everything on hand will make the installation process much smoother.
Essential Tools
- Adjustable Wrenches: You’ll need at least two to loosen and tighten nuts and fittings.
- Basin Wrench: This specialized tool is a lifesaver for reaching awkward nuts under the sink.
- Screwdriver Set: Both Phillips and flathead screwdrivers will likely be needed.
- Plumber’s Putty: This pliable material creates a watertight seal around the faucet base.
- Bucket: To catch any residual water from the pipes.
- Rags or Towels: For wiping up spills and keeping the work area dry.
- Safety Glasses: Protect your eyes from debris and dripping water.
- Flashlight or Work Light: It can be dark under the sink!
- Putty Knife: For scraping away old putty or caulk.
- Teflon Tape (Pipe Thread Tape): For sealing threaded connections.
- New Supply Lines: It’s a good idea to replace old, corroded supply lines when installing a new faucet. Ensure they match your faucet’s connection size and the shut-off valve size.
- New Faucet: Of course, your brand-new two-handle kitchen faucet!
- Owner’s Manual: Always refer to the specific instructions that came with your new faucet.
Optional but Helpful Tools
- Pliers: Can be useful for gripping stubborn parts.
- Utility Knife: For cutting through old caulk or sealant.
- Pipe Wrench: For very stubborn connections, though an adjustable wrench often suffices.
Step 1: Shut Off the Water Supply
This is the most crucial first step. You must shut off water supply to the kitchen sink before you begin any disassembly.
Locating the Shut-Off Valves
- Under the Sink: Most sinks have dedicated hot and cold water shut-off valves located on the pipes directly beneath the sink basin. These usually have oval or round handles.
- Turning Off: Turn the handles clockwise until they are snug. Do not overtighten.
- Testing: Turn on the old faucet handles to release any remaining pressure and confirm the water is indeed off. Let the water run until it stops.
If No Shut-Off Valves Are Present
If you can’t find shut-off valves under your sink, you’ll need to turn off the main water supply to your entire house.
- Main Shut-Off Valve: This is typically found in the basement, garage, or near your water meter.
- Turning Off: Turn the valve handle clockwise to stop the water flow to your home.
- Drain Pipes: After turning off the main valve, open your faucet (and perhaps another faucet on a lower floor) to drain any water remaining in the pipes.
Step 2: Disconnect the Old Faucet
Now it’s time to remove the old faucet. Work from underneath the sink.
Disconnecting Supply Lines
- Prepare for Water: Place your bucket and rags beneath the connections to catch any drips.
- Loosen Nuts: Use an adjustable wrench to loosen the nuts connecting the hot and cold water supply lines to the shut-off valves. They might be plastic or metal.
- Remove Lines: Once loosened, the supply lines should detach from the valves.
Detaching the Faucet from the Sink
- Locate Mounting Nuts: Underneath the sink, you’ll see nuts or a mounting bracket that secure the faucet to the sink or countertop.
- Use Basin Wrench: This is where the basin wrench truly shines. Its long shaft and pivoting jaw allow you to reach and loosen these nuts, even in tight spaces.
- Remove Nuts: Loosen and remove all nuts and washers holding the faucet in place.
- Disconnect Sprayer Hose (if applicable): If your old faucet has a sprayer, there will be a hose connected to it. Disconnect this hose from the faucet body.
- Lift Out Old Faucet: From above the sink, carefully lift out the old faucet assembly.
Cleaning the Mounting Surface
- Remove Old Putty/Caulk: Use your putty knife to gently scrape away any old plumber’s putty, caulk, or sealant from the sink or countertop where the old faucet was mounted. Clean the area thoroughly.
Step 3: Prepare the New Faucet
Unpack your new two-handle faucet and identify all its components.
Inspect Components
- Check for Damage: Ensure no parts are missing or damaged during shipping.
- Read Instructions: Familiarize yourself with the specific assembly and installation instructions provided by the manufacturer.
Assemble Base Components (if necessary)
Some faucets require minor assembly before mounting. This might involve attaching the handles to the faucet body or inserting gaskets. Follow your faucet’s manual.
Apply Plumber’s Putty
This is where plumber’s putty faucet comes into play for creating a watertight seal.
- Form a Rope: Take a portion of plumber’s putty and roll it between your hands to form a rope about 1/2 inch thick.
- Apply to Base: Carefully press this putty rope around the underside of the new faucet base(s) where they will meet the sink or countertop. Ensure it forms a continuous seal.
- Avoid Over-Application: You don’t need too much; a thin, even bead is sufficient.
Step 4: Mount the New Faucet
Now it’s time to mount kitchen faucet base securely.
Positioning the Faucet
- Insert Faucet: Carefully guide the new faucet assembly through the holes in your sink or countertop from above.
- Align Faucet: Position the faucet so it is straight and centered over the holes.
- Press Down: Gently press the faucet down so the plumber’s putty makes contact with the sink surface.
Securing from Below
- Install Washers/Gaskets: From underneath the sink, slide any provided washers or gaskets onto the faucet shanks (the threaded pipes that extend down from the faucet body).
- Thread Mounting Nuts: Screw the mounting nuts onto the faucet shanks.
- Hand Tighten: Begin by hand tighten faucet nuts as much as you can. This helps prevent cross-threading.
- Tighten with Wrench: Use your basin wrench or adjustable wrench to tighten the nuts. Tighten them evenly, alternating between nuts if there are multiple. Be firm, but avoid overtightening, which can crack the sink or damage the faucet. The faucet should feel secure and not wobble.
Cleaning Excess Putty
- Wipe Away: Once the faucet is securely mounted, wipe away any excess plumber’s putty that has squeezed out from around the base with a damp rag.
Step 5: Connect Water Lines
This step involves connecting your new supply lines to the faucet and the shut-off valves. This is where you connect water lines faucet properly.
Attaching Supply Lines to Faucet
- Pre-attached or Separate: Some faucets have supply lines pre-attached. If yours doesn’t, you’ll need to screw the new supply lines into the threaded inlets on the faucet shanks.
- Tighten Gently: Hand tighten faucet nuts onto the faucet shanks. Then, use an adjustable wrench to snug them up – usually a quarter to a half turn past hand-tight is sufficient. Again, avoid overtightening.
Connecting Supply Lines to Shut-Off Valves
- Align Lines: Position the other end of the supply lines to connect to the hot and cold water shut-off valves.
- Threaded Connections: Ensure the threads align properly to avoid cross-threading.
- Hand Tighten First: Hand tighten faucet nuts onto the shut-off valves.
- Tighten with Wrench: Use an adjustable wrench to tighten the nuts. Again, snug is good; overtightening can damage the valve or the line.
Applying Teflon Tape (If Needed)
- For Threaded Connections: If your shut-off valves or supply line connections have exposed threads (and don’t have rubber gaskets), wrap Teflon tape around the threads clockwise, 2-3 times, before connecting. This helps create a watertight seal.
Step 6: Test for Leaks
Before you turn the water back on fully, it’s essential to test for leaks.
Turning Water Back On
- Slowly Open Valves: Slowly turn the shut-off valve handles counterclockwise to turn the water back on.
- Check Connections: Immediately check all the connections you made – at the faucet shanks and at the shut-off valves – for any signs of dripping.
Running the Faucet
- Turn On Faucet: Gently turn on the new faucet handles (both hot and cold).
- Inspect Again: While the water is running, meticulously check all connections underneath the sink for leaks.
- Tighten if Necessary: If you spot any drips, turn the water off again and slightly tighten the corresponding connection. Then, repeat the testing process.
Step 7: Final Touches and Cleanup
Once you’re confident there are no leaks, it’s time for the final steps.
Cleaning Up
- Wipe Down: Wipe down all your work areas under the sink.
- Dispose of Old Faucet: Properly dispose of your old faucet.
- Remove Tools: Gather and store your tools.
Testing Faucet Operation
- Handle Movement: Ensure the handles turn smoothly and operate the water flow correctly.
- Water Temperature: Test both hot and cold water to confirm correct flow.
- Aerator: Check that the water flows evenly from the spout and isn’t spraying erratically.
Troubleshooting Common Issues
Even with the best preparation, you might encounter minor problems.
Table: Common Faucet Installation Problems and Solutions
| Problem | Possible Cause | Solution |
|---|---|---|
| Faucet wobbles after install | Mounting nuts not tightened enough. | Tighten the mounting nuts further, ensuring even pressure. |
| Dripping from spout | Worn-out washer or cartridge in the faucet body. | Replace the washer or cartridge according to the faucet manufacturer’s instructions. |
| Leaks at supply line connection | Not tightened enough, cross-threaded, or faulty washer. | Tighten the connection slightly. If it persists, disconnect, check threads, and re-tape if necessary. |
| Low water pressure | Clogged aerator, kinked supply lines, or partially closed shut-off valve. | Unscrew and clean the aerator. Check supply lines for kinks. Ensure shut-off valves are fully open. |
| Water won’t turn off | Shut-off valve is faulty or debris in valve seat. | Try to reseat the valve. If it still leaks, you may need to replace the shut-off valve. |
Frequently Asked Questions (FAQ)
Q1: How much plumber’s putty do I need?
A1: You only need enough to form a thin rope (about 1/2 inch thick) around the base of the faucet where it meets the sink. Too much can be messy and difficult to clean up.
Q2: Can I use silicone caulk instead of plumber’s putty?
A2: For most faucet installations, plumber’s putty is recommended as it provides a good seal and is easier to remove later if needed. Silicone caulk is generally used for sealing the edges of the faucet to the countertop, not for the initial watertight seal at the base. Always check your faucet’s manual.
Q3: Do I need to replace my old supply lines?
A3: It’s highly recommended. Old supply lines can become brittle, corroded, or clogged, leading to leaks or reduced water flow. Replacing them during a faucet installation is a proactive maintenance step.
Q4: What if my new faucet has different connections than my old one?
A4: Most kitchen faucets use standard 1/2-inch IPS connections for supply lines, but it’s always best to check. If your shut-off valves have different thread sizes, you might need adapter fittings. Check the specifications of your new faucet and your existing plumbing.
Q5: How tight should I make the faucet nuts?
A5: You want them snug enough to prevent any movement of the faucet, but not so tight that you risk cracking the sink or damaging the faucet. Hand tighten faucet nuts first, then use a wrench for a final quarter to half turn.
Q6: Do I need a special tool to install a faucet?
A6: A basin wrench is incredibly helpful for reaching and tightening the nuts under the sink. While some people manage with pliers or other tools, a basin wrench can make the job significantly easier and faster.
Replacing your kitchen faucet is a rewarding DIY project that can refresh your kitchen’s appearance and functionality. By following these detailed steps, you can confidently tackle this task and enjoy your new two-handle kitchen faucet. Remember to always prioritize safety by shutting off water supply and referring to your faucet’s specific installation manual.