
Can you paint kitchen cabinets with chalk paint? Absolutely! Chalk paint is a fantastic option for a kitchen cabinet makeover, offering a unique matte finish that’s both durable and stylish. This guide will walk you through the entire process of chalk paint kitchen cabinet refinishing, turning your tired cabinets into a focal point.
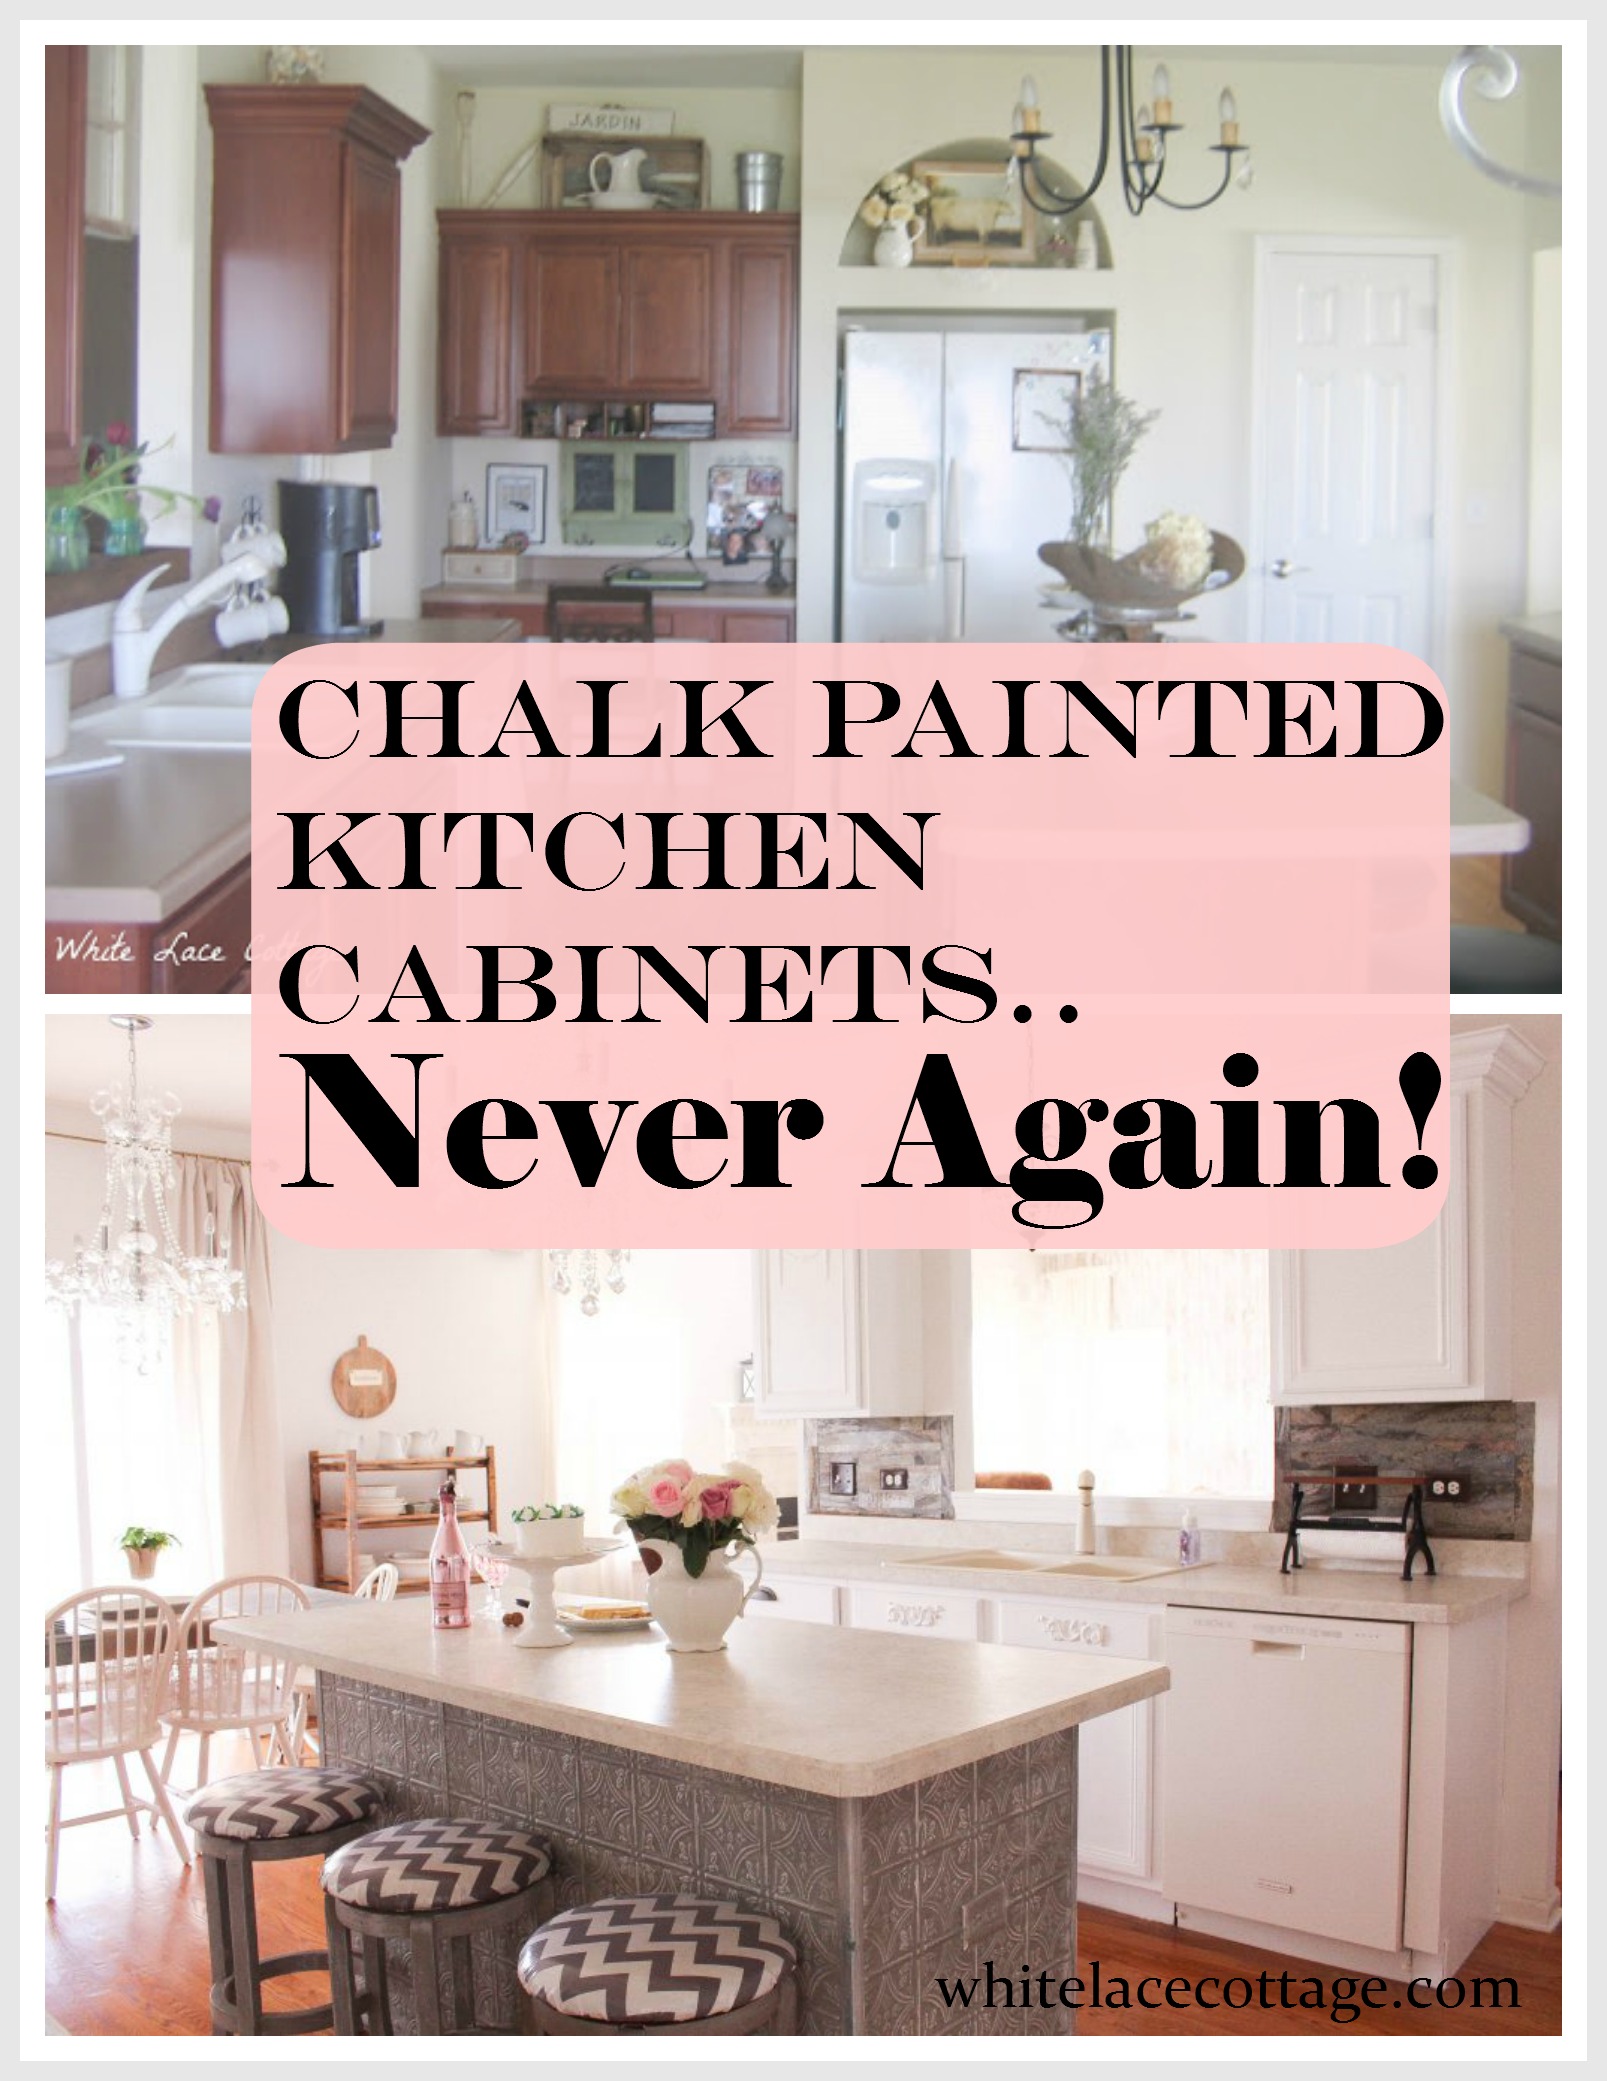
Image Source: whitelacecottage.com
Why Choose Chalk Paint for Your Kitchen Cabinets?
Chalk paint offers several advantages for DIY cabinet painting chalk paint projects. Its adhesion is remarkable, often allowing you to paint directly onto surfaces with minimal prep. This means painting kitchen cabinets without sanding is a very real possibility! It also dries quickly and has a low VOC (volatile organic compound) content, making it a more pleasant choice for indoor projects. Plus, its velvety matte finish can be easily distressed for a vintage look or left as is for a modern, clean aesthetic. The versatility of chalk paint makes it a top contender for a chalk paint furniture painting kitchen transformation.
The Best Chalk Paint for Kitchen Cabinets
When embarking on your easy chalk paint cabinet makeover, choosing the right paint is crucial. While many brands exist, some are specifically formulated for furniture and cabinetry, offering enhanced durability.
Top Chalk Paint Brands to Consider:
- Annie Sloan Chalk Paint: The original and often considered the gold standard. It has excellent coverage and a rich, buttery texture.
- Dixie Belle Silk All-In-One Paint: While technically not chalk paint, Silk is often compared due to its similar no-prep application and durable finish. It offers a subtle sheen that some prefer over chalk paint’s ultra-matte look.
- Fusion Mineral Paint: Another excellent alternative that requires minimal prep and has a built-in topcoat for added durability.
- Rust-Oleum Chalked Ultra Matte Paint: A more budget-friendly option that performs well for many DIYers.
What is the best chalk paint for kitchen cabinets? The “best” often comes down to personal preference and budget. Annie Sloan is a premium choice, while Rust-Oleum offers great value. Dixie Belle Silk and Fusion Mineral Paint are also excellent options that bridge the gap between chalk paint and traditional paints, often providing superior durability out of the can.
Factors to Consider When Choosing:
- Durability: Kitchens are high-traffic areas. Look for paints designed for furniture or cabinetry that can withstand moisture and wear.
- Finish: Do you prefer an ultra-matte finish or a subtle sheen?
- Color Selection: Ensure the brand offers the colors you envision for your chalk painted cabinet ideas.
- Ease of Use: Some chalk paints are thicker than others, affecting application.
Comprehending Chalk Paint Cabinet Prep
While chalk paint is known for its minimal prep, a little effort goes a long way to ensure a flawless, long-lasting finish. Proper chalk paint cabinet prep is key to adhesion and durability.
Step-by-Step Prep Process:
- Remove Hardware: Take off all knobs, pulls, hinges, and doors. This ensures you get a clean finish on all surfaces and makes the painting process much easier. Label doors and drawers if necessary to ensure you put them back in the correct place.
- Clean Thoroughly: This is the most critical step, especially for painting kitchen cabinets without sanding. Kitchen cabinets are often greasy. Use a degreaser like TSP (trisodium phosphate) substitute or a good all-purpose cleaner mixed with warm water. Scrub all surfaces, paying attention to areas around the handles and stove. Rinse thoroughly with clean water and allow them to dry completely. Any residual grease or grime will prevent the paint from adhering properly.
- Light Scuff Sanding (Optional but Recommended): Even though chalk paint adheres well, a light scuff sand can improve adhesion, especially on glossy surfaces. Use a fine-grit sandpaper (220-grit or higher) or a sanding sponge. The goal is not to remove the existing finish but to create a slightly rough surface for the paint to grip. If you’re using a degreaser and the surface feels slightly “tacky” after cleaning, you might be able to skip sanding. However, for the most professional and durable finish, a light sand is usually beneficial.
- Repair Imperfections: Fill any holes or deep scratches with wood filler. Once dry, sand smooth.
Table: Chalk Paint Cabinet Prep Checklist
| Task | Importance | Notes |
|---|---|---|
| Remove Hardware | High | For a clean finish and easier application. |
| Clean Thoroughly | Very High | Degrease to ensure proper adhesion. Use TSP substitute or strong cleaner. |
| Scuff Sand | Medium | 220+ grit. Creates adhesion, especially on glossy surfaces. Can be skipped if very clean. |
| Repair | Medium | Fill holes/scratches with wood filler, then sand smooth. |
Mastering Chalk Paint Cabinet Techniques
Applying chalk paint to cabinets is straightforward, but a few chalk paint cabinet techniques can elevate your results from good to exceptional.
Application Methods:
- Brushing: This is the most common method for chalk paint. Use a good quality synthetic bristle brush or a chalk paint brush. Apply thin, even coats, brushing in one direction where possible for a smoother finish, or in varied directions for a more textured look.
- Rolling: For flat cabinet doors and drawer fronts, a foam roller or a high-density microfibre roller can provide a very smooth, brush-stroke-free finish. Load the roller lightly to avoid drips.
- Spraying: If you have a paint sprayer, this will give the most professional and smooth finish. Ensure you thin the chalk paint according to the manufacturer’s instructions and use the correct nozzle size. This method requires the most prep work and careful masking.
Layering and Distressing:
- Thin Coats: Apply thin coats of paint. It’s better to apply three thin coats than two thick ones. This prevents drips and ensures even coverage.
- Drying Time: Allow each coat to dry completely. Chalk paint dries quickly to the touch but needs to cure for optimal hardness.
- Distressing (Optional): For a vintage or farmhouse look, lightly distress your cabinets after the paint is dry. Use fine-grit sandpaper (220-grit) or a sanding sponge along the edges, corners, or anywhere that would naturally show wear and tear. You can also use a damp cloth to wipe away some paint for a softer distressed effect.
The Crucial Step: How to Seal Chalk Painted Cabinets
Sealing your chalk-painted cabinets is absolutely essential, especially for a high-traffic area like the kitchen. It protects the paint from moisture, grease, and everyday wear, making it much more durable.
Sealing Options:
-
Furniture Wax: This is the traditional sealant for chalk paint. It provides a beautiful, soft sheen and a good level of protection.
- Application: Apply a thin, even coat of clear furniture wax using a wax brush or a lint-free cloth. Work in small sections.
- Buffing: Once the wax is dry to the touch (usually within 10-20 minutes), buff it vigorously with a clean, lint-free cloth to bring out the sheen and seal the paint.
- Multiple Coats: For kitchen cabinets, apply 2-3 thin coats of wax, allowing each coat to dry and buffing thoroughly before applying the next. Reapply wax every 6-12 months as needed.
- Pros: Easy to apply, beautiful soft sheen, easy to repair (just reapply wax).
- Cons: Less durable than polycrylic, can be susceptible to water marks if not maintained, requires reapplication.
-
Polycrylic (Water-Based Polyurethane): For maximum durability in a kitchen, a water-based polyurethane like polycrylic is often the best choice. It’s clear, durable, and resistant to water and stains.
- Application: Apply thin, even coats using a good quality synthetic brush or a high-density foam roller. Avoid overworking the paint, which can cause streaks.
- Light Sanding Between Coats: For the smoothest finish, lightly sand between coats with very fine-grit sandpaper (320-grit or higher) or a fine-grit sanding sponge. Wipe away dust with a tack cloth before applying the next coat.
- Multiple Coats: Apply 2-3 coats for good protection.
- Pros: Extremely durable, water and stain-resistant, long-lasting.
- Cons: Can yellow over time (though water-based polyurethanes are much less prone to this than oil-based ones), can alter the chalky feel slightly, requires careful application to avoid brush strokes or drips.
What is the best way to seal chalk painted cabinets? For kitchen cabinets, sealing with a water-based polycrylic is generally recommended for superior durability against moisture and grease. However, if you desire the classic chalky feel and are diligent with maintenance, furniture wax is also a viable option.
Table: Sealing Chalk Paint for Kitchen Durability
| Sealer Type | Durability | Finish | Application Ease | Maintenance | Best For |
|---|---|---|---|---|---|
| Furniture Wax | Medium | Soft Sheen | Easy | Reapply 6-12 mos | Vintage look, less traffic areas |
| Polycrylic | High | Clear, Matte/Satin | Moderate | Low | High-traffic kitchens, maximum protection |
Your Complete Chalk Paint Kitchen Cabinet Refinishing Guide
Let’s put it all together for a comprehensive chalk paint kitchen cabinet refinishing project.
Materials You’ll Need:
- Chalk Paint (in your chosen color)
- Degreaser (TSP substitute or strong cleaner)
- Clean cloths or sponges
- Fine-grit sandpaper (220-grit and 320-grit) or sanding sponges
- Wood filler (if needed)
- Putty knife (for wood filler)
- Paintbrushes (synthetic bristles)
- Foam rollers (optional, for smooth finishes)
- Painter’s tape
- Drop cloths or old sheets
- Furniture wax OR water-based polycrylic
- Wax brush or lint-free cloths (if using wax)
- Tack cloth (if using polycrylic)
- Screwdriver (for hardware)
- Gloves and safety glasses
Step-by-Step: The DIY Cabinet Painting Chalk Paint Process
- Preparation is Key: As outlined above, thoroughly clean your cabinets, remove hardware, and consider a light scuff sand. Repair any imperfections.
- Prime (Optional but Recommended): For dark colors over light cabinets, or if your cabinets have a very slick finish, a good quality bonding primer can ensure better adhesion and color coverage. Allow the primer to dry completely according to the manufacturer’s instructions.
- First Coat of Chalk Paint: Apply your first thin, even coat of chalk paint. Work from top to bottom. Use a brush for corners and edges, and a roller for larger flat surfaces if desired. Avoid overloading your brush or roller.
- Dry and Inspect: Let the first coat dry completely. Chalk paint dries very quickly, but wait at least an hour, or as recommended by the paint manufacturer, before the next step. Inspect for any missed spots or drips.
- Second Coat of Chalk Paint: Apply a second thin coat. Again, aim for even coverage. Most projects require two coats for full opacity.
- Dry and Light Sand (Optional): Allow the second coat to dry thoroughly. If you notice any small imperfections or rough spots, you can lightly sand them with your 320-grit sandpaper or sanding sponge. Wipe away dust with a tack cloth or a slightly damp cloth.
- Apply Sealer:
- If using Wax: Apply your first coat of clear furniture wax. Let it sit for about 10-20 minutes until it looks hazy, then buff vigorously with a clean cloth. Apply a second and third coat, buffing well after each.
- If using Polycrylic: Apply your first thin coat of polycrylic. Let it dry completely (check can for time, usually 1-2 hours). Lightly sand with 320-grit sandpaper or a fine sanding sponge, then wipe away dust with a tack cloth. Apply your second coat. Repeat for a third coat if desired.
- Reassemble: Once the final coat of sealer is fully cured (this can take 24-72 hours for polycrylic, check the product instructions), reattach your hardware. You can also upgrade your hardware for an even more dramatic change.
- Rehang Doors and Drawers: Carefully rehang your doors and drawers.
Popular Chalk Painted Cabinet Ideas
The beauty of chalk paint is its versatility. Here are some chalk painted cabinet ideas to inspire your easy chalk paint cabinet makeover:
- Classic White/Cream: A timeless look that brightens any kitchen. Pair with black or brass hardware for contrast.
- Soft Greys and Blues: These calming colors create a sophisticated and serene atmosphere.
- Bold Colors: Don’t shy away from deep greens, navy blues, or even a dramatic black for a modern statement.
- Two-Tone: Paint the upper cabinets one color and the lower cabinets another. A popular combination is white uppers with a dark grey or navy lower.
- Distressed Finish: Achieve a charming farmhouse or vintage aesthetic by lightly distressing edges and corners.
- Stenciled Accents: Add decorative stencils to the center panels of doors for a unique touch.
Frequently Asked Questions (FAQ)
Q: How long does chalk paint take to dry on kitchen cabinets?
A: Chalk paint typically dries to the touch within 30-60 minutes, but it’s important to let it dry for at least 1-2 hours between coats for optimal adhesion. Full curing can take several weeks.
Q: Can I paint over existing cabinet finishes with chalk paint?
A: Yes, chalk paint adheres very well to most surfaces, including previously painted or stained cabinets, laminate, and even some veneers. Thorough cleaning is the most crucial part of the prep.
Q: Do I need to seal chalk paint on kitchen cabinets?
A: Absolutely. Sealing chalk paint on kitchen cabinets is essential for durability and protection against moisture and grease. Furniture wax or a water-based polycrylic are the most common sealants.
Q: How many coats of chalk paint do I need for my kitchen cabinets?
A: Typically, two thin coats are sufficient for full coverage. However, depending on the paint color and the original color of your cabinets, you might need a third coat. Always aim for thin, even coats rather than one thick one.
Q: How do I clean chalk painted cabinets after they are sealed?
A: If sealed with wax, clean gently with a damp cloth and mild soap. Avoid harsh chemicals. If sealed with polycrylic, you can use a slightly stronger cleaner, but still avoid abrasive materials.
Q: Will chalk paint chip on my kitchen cabinets?
A: While chalk paint is durable, especially when properly sealed, chipping can occur if the surface wasn’t adequately prepped or if the sealant is not robust enough for the high-traffic kitchen environment. Using a good quality topcoat like polycrylic significantly reduces the risk of chipping.
Q: Can I use a sprayer to apply chalk paint to cabinets?
A: Yes, you can spray chalk paint. However, you’ll need to thin it according to the manufacturer’s instructions and use an appropriate nozzle size. This method provides a very smooth finish but requires careful masking and practice.
Embarking on a chalk paint furniture painting kitchen project is a rewarding way to refresh your kitchen’s look. With careful preparation and the right techniques, you can achieve a beautiful, durable finish that you’ll love for years to come. Happy painting!