
Image Source: i.ytimg.com
DIY Guide: How To Distress Kitchen Cabinets Like a Pro
Can you distress kitchen cabinets yourself? Yes, absolutely! With the right techniques and a little patience, anyone can achieve beautiful distressed cabinets for a charming, lived-in look. This guide will walk you through how to distress your kitchen cabinets, transforming them into stunning distressed wood pieces that add character and warmth to your home. We’ll cover everything from preparation to the final touches, making DIY cabinet distressing achievable for everyone.
Why Distress Your Kitchen Cabinets?
Distressing kitchen cabinets is a popular way to achieve a variety of aesthetics, from rustic farmhouse to elegant shabby chic cabinets. This technique mimics the natural wear and tear that aging cabinets undergo over time, creating a sense of history and depth. Instead of a brand-new, sometimes sterile look, distressed cabinets offer a cozy, inviting atmosphere. They can hide minor imperfections and add a unique, personalized touch that mass-produced cabinets often lack.
Planning Your Distressing Project
Before you grab your sandpaper and paint, a little planning goes a long way. This ensures a cohesive and professional-looking finish.
Choosing Your Style
What kind of distressed look are you aiming for? Consider these popular styles:
- Farmhouse Rustic: Characterized by heavier wear, exposing more wood or underlying paint layers. Think chipped edges, subtle nicks, and a generally well-used appearance.
- Shabby Chic: Features softer distressing, often with a whitewashed or pastel base coat. Think gentle rub-throughs, subtle aging, and a romantic, vintage feel.
- Coastal/Weathered: Mimics the look of wood exposed to the elements. This often involves lighter colors, subtle grain highlighting, and a more natural, salt-worn appearance.
- Antiqued: Aims to replicate the look of aged furniture with a richer, deeper patina. This can involve darker waxes, glazes, and more controlled distressing.
Color Palette Selection
Your base color and distressing colors are crucial.
- Base Coat: This is the primary color of your cabinets. Lighter colors like white, cream, pale gray, or pastels work well for many distressing styles. Darker colors can also be distressed to reveal lighter undertones or raw wood.
- Accent Colors/Undercoats: For a classic distressed look, you’ll often apply a contrasting color before your final color. For instance, a dark base coat followed by a lighter topcoat, or vice-versa. This allows the underlying color to show through the distressed areas.
- Top Coat/Wax: This can be a clear coat, a tinted glaze, or a wax to seal and enhance the distressed finish.
Essential Tools and Materials
Gathering the right supplies before you start makes the process smoother.
Materials:
- Cabinet Cleaner/Degreaser: To thoroughly clean the cabinet surfaces.
- Sanding Sponges or Sandpaper: Various grits (e.g., 120, 180, 220) for smoothing and distressing.
- Paint: High-quality cabinet paint (alkyd enamel or latex acrylic are good choices). Consider a primer if needed.
- Brushes and Rollers: For applying paint and other finishes. Foam rollers offer a smooth finish.
- Chalk Paint or Milk Paint (Optional): These paints naturally distress well.
- Wax or Glaze (Optional): For adding depth and an antique look.
- Rag/Cloth: For wiping away dust and excess paint/glaze.
- Wood Filler (Optional): For filling holes or dents if you don’t want them to show through.
- Drop Cloths: To protect your floors and surrounding areas.
- Painter’s Tape: For masking off areas you don’t want to paint.
Tools:
- Screwdriver/Drill: To remove cabinet doors and hardware.
- Putty Knife or Scraper: For applying and removing paint/wax in specific areas.
- Gloves: To protect your hands.
- Mask: To avoid inhaling dust.
- Safety Glasses: To protect your eyes.
Step-by-Step Guide to Distressing Kitchen Cabinets
Let’s get started on transforming your kitchen!
Step 1: Preparation is Key
Proper preparation ensures your distressed finish lasts and looks its best.
- Remove Doors and Hardware: Carefully take off all cabinet doors, drawers, and hardware. Label each door and drawer so you know where it goes back.
- Clean Thoroughly: Use a good cabinet cleaner or degreaser to remove all grease, grime, and dirt. This is vital for paint adhesion. Rinse with clean water and let dry completely.
- Light Sanding (Optional but Recommended): Lightly sand the surfaces with a medium-grit sandpaper (120-150 grit). This helps create a “tooth” for the paint to adhere to. Don’t aim for a perfectly smooth surface; a little texture can be beneficial. Wipe away all dust with a tack cloth or damp cloth.
- Repair Imperfections: If you have deep gouges or dents you want to smooth out, use wood filler. Sand smooth once dry. If you want to highlight certain imperfections as part of the distressing, skip this step for those areas.
Step 2: Priming (If Necessary)
If your cabinets are a very dark color and you’re painting them a light color, or if the wood is stained, a primer can help block the old color and ensure even coverage of your new paint. Apply one or two thin coats of a good quality primer, letting each coat dry completely according to the manufacturer’s instructions. Lightly sand with fine-grit sandpaper (220 grit) after priming for a smoother finish. Wipe away dust.
Step 3: Applying the Base Coat
This is the first layer of color.
- Apply Paint: Use a high-quality cabinet paint. You can use chalk paint, milk paint, or a good latex or enamel paint. Apply in thin, even coats using a brush or foam roller. Avoid overloading your brush or roller.
- Multiple Coats: You’ll likely need two or more coats for full coverage. Allow each coat to dry thoroughly between applications. Follow the paint manufacturer’s recommended drying times.
- Light Sanding Between Coats: After each coat of paint (except the final one), lightly sand with very fine-grit sandpaper (220-320 grit) and wipe away dust. This creates a smooth surface for the next coat and helps prevent brush marks.
Step 4: Introducing the Distress!
This is where the magic happens. There are several effective cabinet distressing techniques.
Technique 1: Sanding Through Layers
This is the most common method for cabinet paint distressing.
- Gather Your Tools: You’ll need sandpaper (120-220 grit) or a sanding sponge.
- Targeted Sanding: Identify areas that would naturally show wear:
- Edges and corners of doors and drawers.
- Around hardware holes.
- Areas that are frequently touched or bumped.
- Gentle Pressure: Apply light to moderate pressure with your sandpaper. You want to reveal the layer beneath (primer, wood, or a different paint color) without overdoing it.
- Vary the Pressure: Don’t distress all areas equally. Vary the intensity of sanding to create a more natural, aged look.
- Create “Chips” and “Scratches”: For more pronounced distressing, you can use a putty knife or even a coarse grit sandpaper to create small nicks or shallow scratches.
- Wipe Away Dust: After sanding an area, wipe away the dust with a clean, dry cloth. This helps you see how much distressing you’ve achieved.
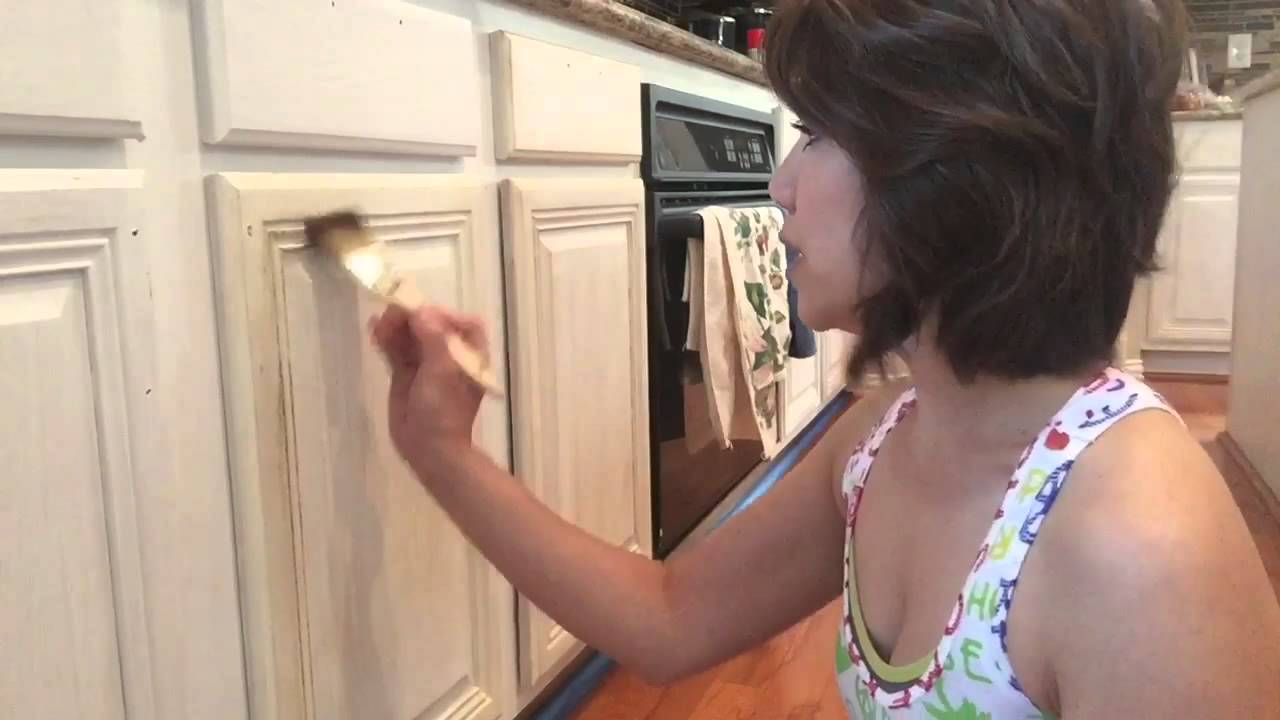
Technique 2: Dry Brushing
This technique is great for adding subtle highlights and a vintage feel.
- Load Your Brush: Dip a dry brush into your chosen accent paint (often a lighter color or glaze). Wipe off most of the paint on a paper towel or scrap piece of wood, leaving just a small amount of paint on the bristles.
- Apply Lightly: Lightly brush across the surface of the cabinet, focusing on raised areas or edges. The goal is to get a wispy, streaky effect, not full coverage.
- Build Layers: You can layer this effect, adding more or less paint as desired.
Technique 3: Using Wax or Glaze
This is a fantastic way to achieve an antiquing look and further enhance the distressed effect.
- Apply Wax: After your paint is completely dry, you can apply furniture wax. Use a clean, lint-free cloth to apply a thin layer of wax, working it into the surface. Buff off the excess with a clean cloth. The wax can create a soft sheen and a subtle aged patina.
- Apply Glaze: Glazes add depth and can be used to highlight distressing.
- Coloring the Glaze: Mix your glaze with a small amount of paint or a universal tint.
- Application: Apply the glaze over the painted surface with a brush or rag.
- Wiping Off: Immediately wipe away the excess glaze with a clean cloth, leaving the glaze in the nooks and crannies and rubbed off the high points. This creates a time-worn appearance. You can also use steel wool (0000 grade) to gently rub the glaze off certain areas to reveal the paint beneath, enhancing the distressed look.
Technique 4: Using a “Crackle” Medium
For a dramatic, aged look, crackle medium is excellent for creating intentionally cracked paint effects.
- Apply Crackle Medium: Apply a thin, even layer of crackle medium between two coats of paint. Follow the product’s instructions carefully regarding drying times and application.
- Apply Topcoat: Apply a second, contrasting color paint over the dry crackle medium. As the topcoat dries, it will crack, revealing the color underneath.
- Distressing Further: You can then gently sand the edges of the cracks or other areas for more pronounced distressing.
Technique 5: Creating “Wormholes” and Dents
For a truly rustic feel, you can artificially add wormholes and dents.
- Wormholes: Use the tip of a small drill bit, a metal pick, or even a wire brush to carefully poke small holes into the wood. Don’t go too deep.
- Dents: Gently tap an area with a hammer or the handle of a screwdriver to create small dents.
- Sand Gently: Lightly sand the edges of these new imperfections to make them look natural.
Step 5: Applying the Top Coat/Sealer
Once you’re happy with the distressing, it’s time to seal and protect your work.
- Choose Your Sealer:
- Polyurethane: A durable clear coat, available in matte, satin, or gloss.
- Wax: Adds a soft sheen and a classic antique finish, especially over chalk paint.
- Lacquer: Offers a hard, durable finish, but requires good ventilation and careful application.
- Application: Apply your chosen sealer in thin, even coats. Follow the manufacturer’s instructions for drying times. You may need two or more coats.
- Buffing (for Wax): If using wax, buff thoroughly with a clean, soft cloth to achieve a smooth, satiny finish.
Step 6: Reassemble
Once the final coat of sealer is completely dry and cured, it’s time to reattach your hardware and hang your beautiful, weathered cabinets back in place.
Tips for Achieving a Pro Look
- Less is Often More: Start with minimal distressing and gradually add more as needed. It’s easier to distress more than it is to fix over-distressed areas.
- Work in Stages: Don’t try to do everything at once. Allow paint and sealers to dry fully between steps.
- Natural Wear Patterns: Look at real old furniture or photos for inspiration on how wear naturally occurs on cabinets.
- Consistent Effort: Apply your distressing evenly across all doors and drawers, but allow for subtle variations to keep it from looking too uniform.
- Practice: If you’re new to furniture distressing, practice on scrap wood or an old piece of furniture before tackling your kitchen cabinets.
- Embrace Imperfection: The beauty of distressed cabinets lies in their imperfections. Don’t strive for absolute perfection.
Frequently Asked Questions (FAQ)
Q: Can I distress cabinets that are already painted?
A: Yes! If your cabinets are already painted, you can distress them by sanding through the existing paint to reveal the primer, wood, or a different color you’ve applied as an undercoat.
Q: What is the best paint to use for distressing?
A: Chalk paint and milk paint are popular choices because they distress easily with light sanding and have a naturally matte finish that lends itself well to an aged look. However, you can also distress latex or enamel paints effectively with careful sanding and layering techniques.
Q: How do I distress cabinets without making them look messy?
A: The key is to mimic natural wear patterns. Focus on edges, corners, and areas that would typically be touched. Use varying degrees of sanding pressure and consider using a glaze or wax to unify the look and add depth. Practice on scrap wood first!
Q: Can I distress laminate cabinets?
A: Distressing laminate cabinets is more challenging than wood because you can’t easily sand through to reveal wood grain. However, you can still achieve a distressed look by painting them and then lightly sanding the edges and high points to reveal the primer or base coat. Specialized primers for laminate are recommended.
Q: How do I distress kitchen cabinets for a farmhouse look?
A: For a farmhouse look, focus on more pronounced distressing. Use a coarser grit sandpaper (100-150 grit) on edges and corners. You can also try lightly tapping areas with a hammer or using a wire brush to create simulated nicks and scratches. Revealing more of the wood or an underlying contrasting color is common for this style.
Q: What about distressing the inside of cabinet doors?
A: Typically, distressing is done on the exterior surfaces of the cabinet doors and frames. Distressing the inside is usually not necessary and can be difficult to maintain.
Q: How long does a distressed cabinet finish last?
A: With proper preparation, painting, and sealing, a distressed cabinet finish can last for many years. The durability depends on the quality of the materials used and how well the final sealer is applied.
Q: Can I distress veneer cabinets?
A: You can distress veneer cabinets, but you need to be very careful. Veneer is a thin layer of wood, and it’s easy to sand through it quickly. Use very fine-grit sandpaper and light pressure, focusing on revealing the paint or primer layers rather than the veneer itself.
This comprehensive guide should equip you with the knowledge and confidence to tackle your kitchen cabinet distressing project. Enjoy the process of creating beautiful, unique, and character-filled distressed cabinets that will enhance the charm of your home!