
Can you wash kitchen mats in a washing machine? Yes, many washable kitchen mats can be cleaned in a washing machine, but it’s important to check the care label first. Knowing how to clean kitchen mats properly will extend their life and keep your kitchen looking its best. Dirty or stained kitchen mats can be an eyesore and even a tripping hazard. This guide will cover everything from regular cleaning to tackling tough stains, ensuring your kitchen mat care routine is effective. We’ll delve into deep cleaning kitchen mats, discuss the best way to clean kitchen rugs, and share some homemade kitchen mat cleaner recipes. Proper kitchen mat maintenance is key to a clean and hygienic cooking space.
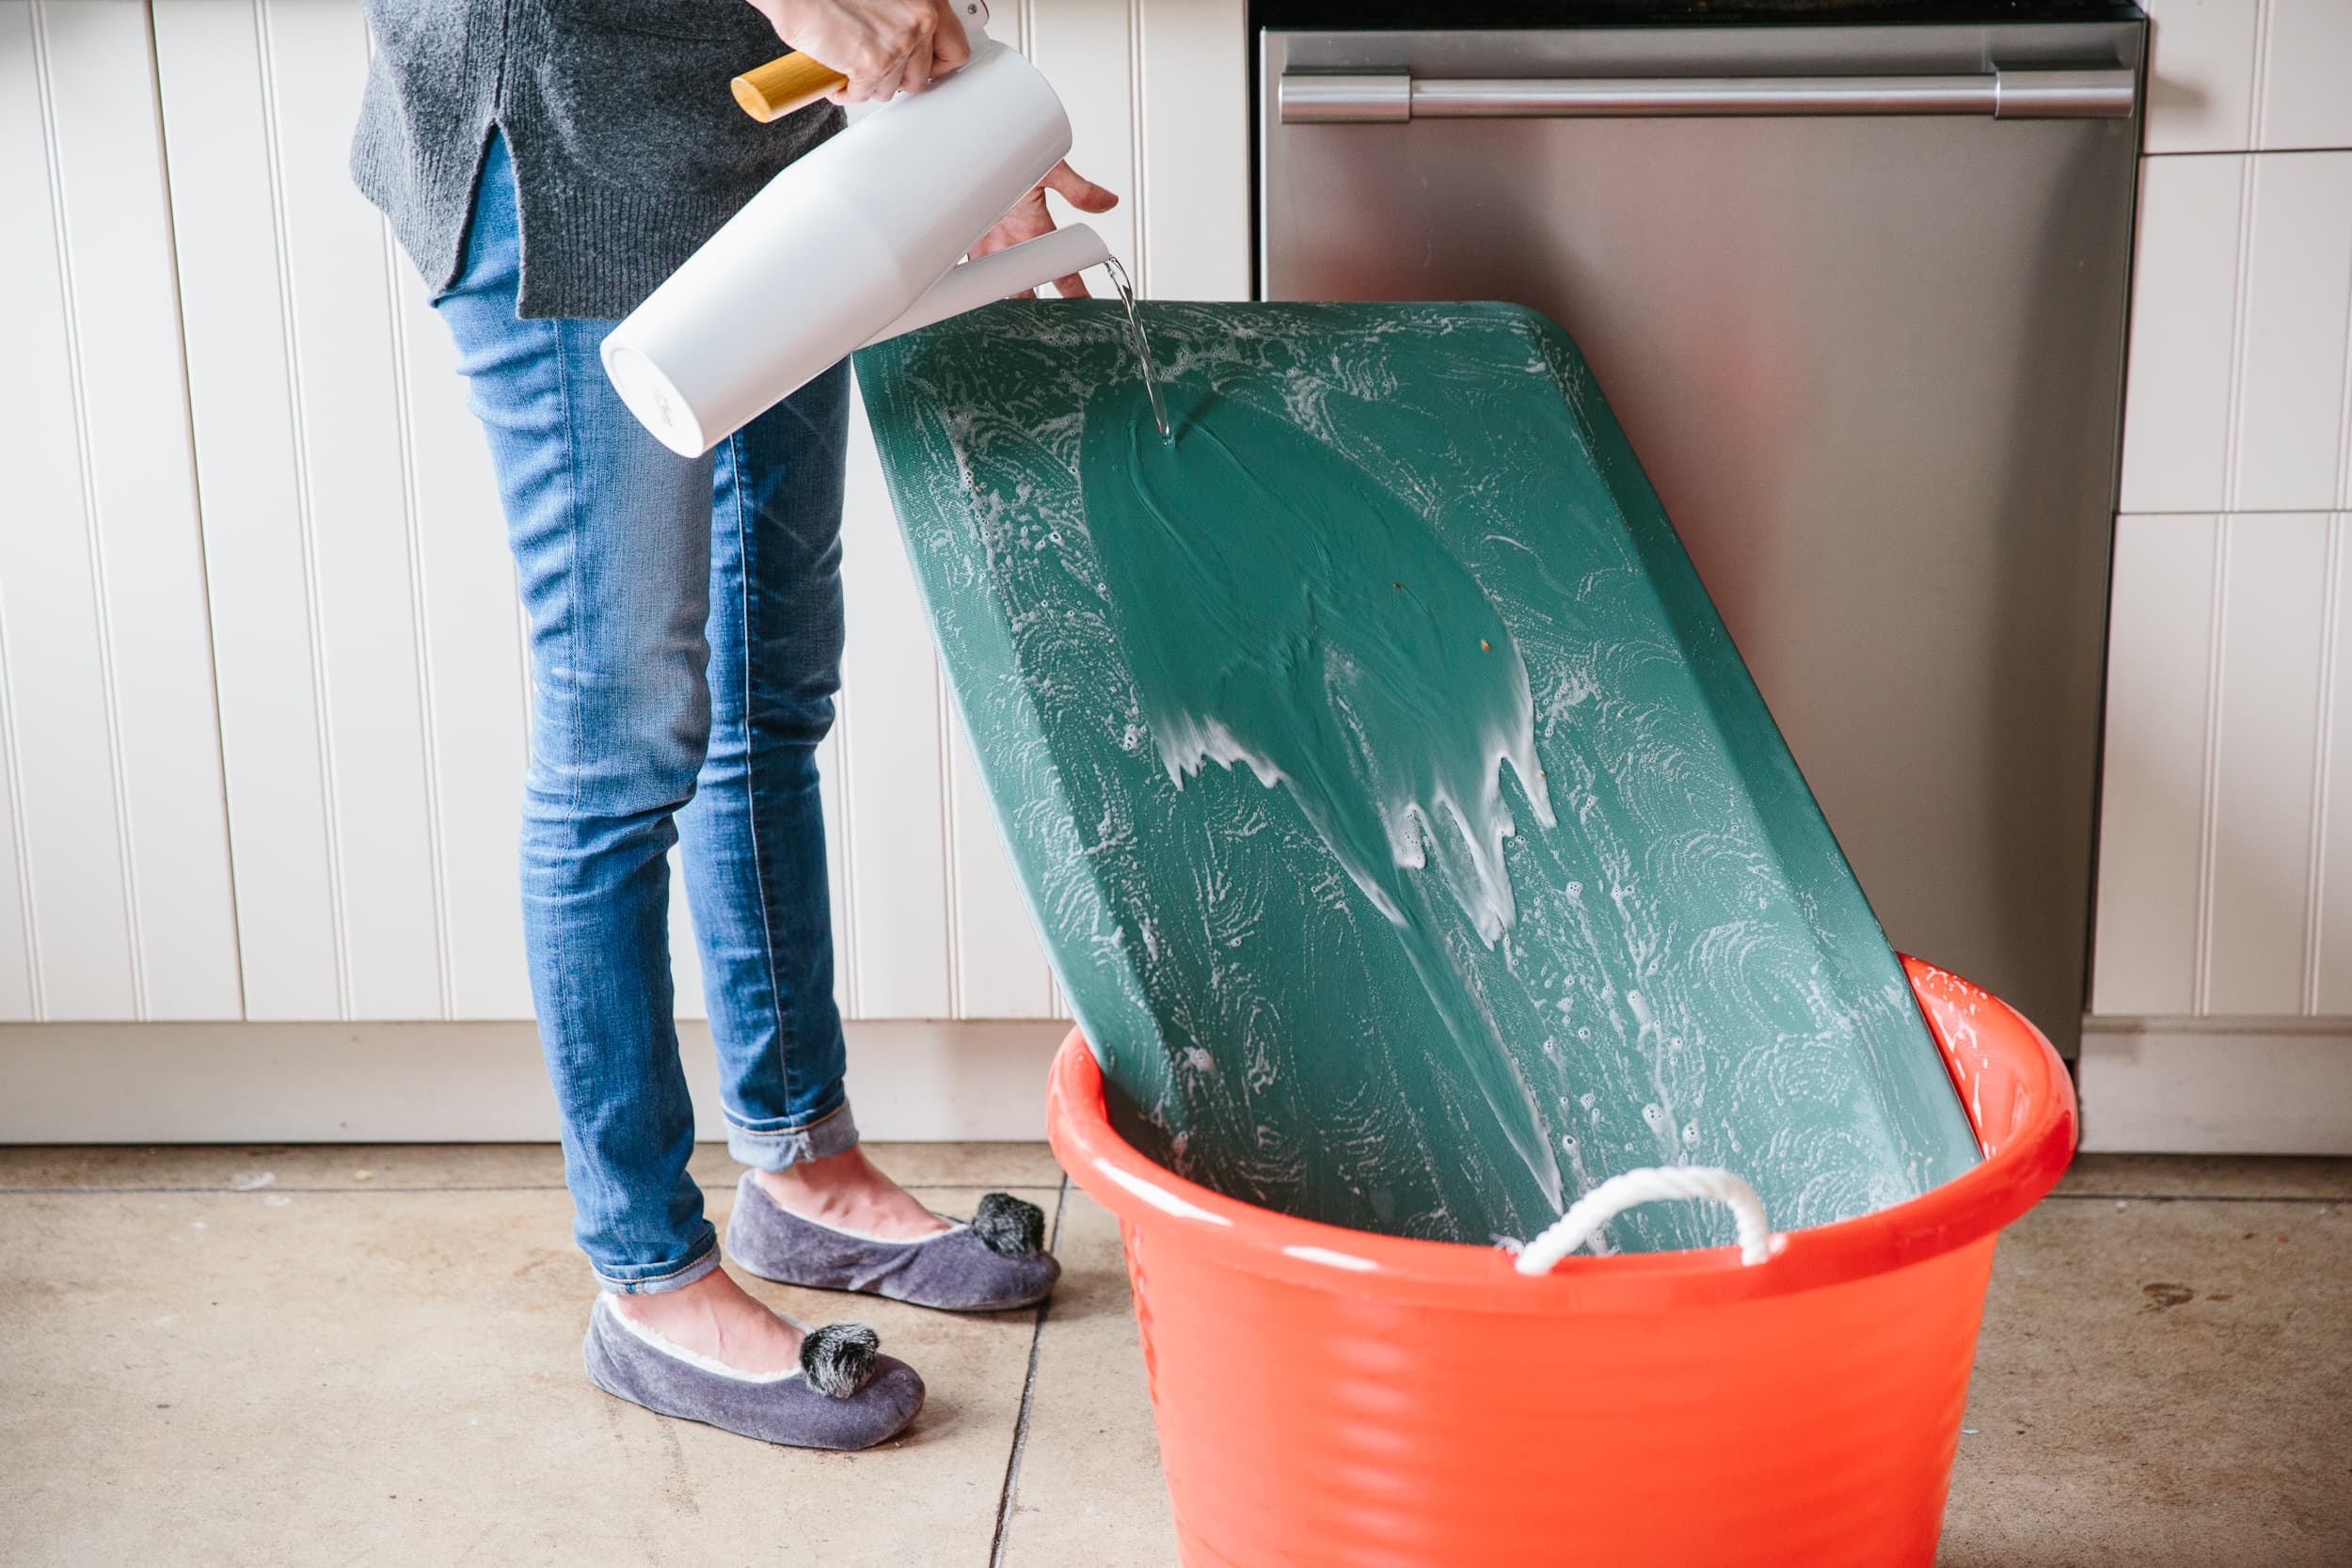
Image Source: cdn.apartmenttherapy.info
Why Regular Kitchen Mat Cleaning Matters
Your kitchen mats work hard. They protect your floors from spills, reduce foot fatigue, and add a touch of style. But they also catch a lot of dirt, food particles, and moisture. Without regular cleaning, they can become breeding grounds for bacteria and odor.
Preventing Germ Buildup
Kitchen mats are often placed in high-traffic areas where food is prepared and served. This means they can easily pick up bacteria from raw meats, dropped food, and general kitchen grime. Regular cleaning helps to remove these contaminants and keep your kitchen hygienic.
Maintaining Appearance
Spills and dropped food can leave unsightly stains. Regular cleaning prevents these from setting in, keeping your kitchen mats looking fresh and new. This also contributes to the overall cleanliness and appeal of your kitchen.
Extending Mat Lifespan
Dirt and grit can act like sandpaper, wearing down the fibers of your mats over time. Regular cleaning removes this abrasive material, helping to preserve the integrity and longevity of your mats.
Types of Kitchen Mats and Their Cleaning Needs
Not all kitchen mats are created equal, and their materials will dictate the best cleaning methods.
Washable Kitchen Mats (Fabric)
These are the most common type and are often made from cotton, polyester, or blends.
- Cleaning Tips: Most can be machine washed on a gentle cycle with mild detergent. Always check the care label.
- Drying: Air drying is usually best to prevent shrinkage or damage to the backing. Some may be tumble dry on low heat.
Anti-Fatigue Mats (Foam or Gel)
These are designed for comfort and support but often have a surface that requires specific care.
- Cleaning Tips: Spot clean with a damp cloth and mild soap. Avoid harsh chemicals or soaking.
- Drying: Wipe dry with a clean cloth. Do not machine wash or dry.
Rubber or Vinyl Mats
Durable and waterproof, these are great for high-spill areas.
- Cleaning Tips: Wipe down with a damp cloth and soapy water. For deeper cleaning, they can often be hosed down outside or washed in a large utility sink.
- Drying: Air dry completely, ensuring no moisture remains trapped in textures.
Natural Fiber Mats (Jute, Bamboo)
These offer a natural aesthetic but require gentler cleaning.
- Cleaning Tips: Spot clean with a damp cloth. Avoid excessive moisture as it can damage the fibers and cause mildew.
- Drying: Air dry immediately and thoroughly.
Deep Cleaning Kitchen Mats: A Step-by-Step Guide
Deep cleaning your kitchen mats periodically will ensure they are truly clean and refreshed.
Step 1: Initial Inspection and Preparation
- Shake it Out: Take your mat outside and give it a good shake to remove loose debris, crumbs, and dust.
- Vacuum: For fabric mats, vacuum them thoroughly on both sides. Use an upholstery attachment if you have one. For anti-fatigue mats, a quick vacuum can remove surface dust.
Step 2: Spot Cleaning Stubborn Stains
Before a full wash, tackle any visible stains.
- Homemade Kitchen Mat Cleaner: Mix one part white vinegar with two parts water in a spray bottle. You can also add a drop of dish soap for greasy stains.
- How to Use: Spray the stain, let it sit for 5-10 minutes, then gently scrub with a soft brush or cloth. Blot with a clean, damp cloth. Test this mixture in an inconspicuous area first.
- For Grease: Baking soda is excellent for absorbing grease. Sprinkle a generous amount on the stain, let it sit for a few hours or overnight, then brush or vacuum it away. Follow up with a damp cloth if needed.
Step 3: Machine Washing (for Washable Mats)
If your mat is machine washable, follow these guidelines for optimal results.
- Check the Label: Always refer to the manufacturer’s care instructions.
- Load Separately: Wash your mat by itself or with similar items to prevent color transfer or damage to other fabrics.
- Use Cold Water: Opt for cold water on a gentle or delicate cycle. Hot water can damage some materials or cause colors to bleed.
- Mild Detergent: Use a small amount of mild liquid detergent. Avoid fabric softeners, as they can reduce absorbency.
- No Bleach: Unless specifically stated on the label, avoid bleach, as it can weaken fibers and cause discoloration.
Step 4: Hand Washing (for Delicate or Non-Washable Mats)
Some mats are too delicate for a washing machine but can be cleaned by hand.
- Materials: You’ll need a bathtub, large sink, mild detergent, and a soft brush.
- Process:
- Fill the tub or sink with cool water.
- Add a small amount of mild detergent.
- Submerge the mat and gently swish it around.
- Use a soft brush to gently scrub away dirt and stains.
- Drain the soapy water and rinse the mat thoroughly with cool, clean water until all soap residue is gone.
- Gently squeeze out excess water, being careful not to wring or twist too aggressively, especially for mats with delicate backing.
Step 5: Drying Your Kitchen Mats
Proper drying is crucial to prevent mildew and maintain the mat’s shape.
- Air Drying: This is the preferred method for most kitchen mats.
- Flat Surface: Lay the mat flat on a clean towel or drying rack in a well-ventilated area. Flip it periodically to ensure even drying.
- Hanging: Some mats can be hung over a clothesline or shower rod, ensuring good air circulation. Avoid direct sunlight for extended periods, as it can fade colors.
- Tumble Drying (Caution!): Only use a dryer if the care label specifically permits it, and always use the lowest heat setting or air-only cycle. Overheating can cause shrinkage, melting, or damage to the backing.
Stain Removal Secrets for Kitchen Mats
Tackling stains promptly is key to keeping your kitchen mats looking pristine.
Common Kitchen Mat Stains and How to Remove Them
Here’s a breakdown of common culprits and effective removal techniques:
| Stain Type | Recommended Cleaner | Method |
|---|---|---|
| Grease/Oil | Baking soda, cornstarch, or a degreasing dish soap. | Blot up excess oil. Cover the stain generously with baking soda or cornstarch; let it absorb for several hours. Vacuum. For stubborn stains, apply a small amount of degreasing dish soap directly, gently rub, let sit for 10 minutes, then wipe with a damp cloth. |
| Red Wine | Salt, baking soda, or a mixture of dish soap and hydrogen peroxide (for light mats). | Blot up excess wine. Cover with salt or baking soda to absorb. Gently scrub with a soft brush. For light-colored mats, a paste of equal parts baking soda and hydrogen peroxide can be effective (test first). Rinse and blot. |
| Coffee/Tea | White vinegar solution or a paste of baking soda and water. | Blot up excess. Apply the vinegar solution or baking soda paste. Let sit for a few minutes, then gently scrub. Rinse and blot. |
| Mud/Dirt | Cool water and mild soap. | Allow mud to dry completely. Brush or vacuum away as much as possible. Then, spot clean with cool water and a mild detergent. Rinse and blot. |
| Pet Stains | Enzymatic cleaner specifically designed for pet stains. | Blot up as much as possible. Apply the enzymatic cleaner according to product directions, ensuring it penetrates the mat’s backing. Let it air dry completely. These cleaners break down the odor-causing molecules. |
Removing Stains from Kitchen Mats: Advanced Techniques
Sometimes, standard methods aren’t enough.
- Hydrogen Peroxide for Whites: For white or very light-colored mats, a 3% hydrogen peroxide solution can be a gentle bleach alternative for stubborn stains. Apply with a cloth, let sit for a short time, then rinse thoroughly. Always test in an inconspicuous area first.
- Rubbing Alcohol: Effective for ink stains or some dye transfers. Apply to a clean cloth and blot the stain.
Sanitizing Kitchen Mats: Keeping Them Hygienic
Beyond appearance, sanitizing kitchen mats is vital for health.
Why Sanitize?
Kitchen mats can harbor bacteria and germs from food preparation, dropped items, and general foot traffic. Sanitizing helps kill these microorganisms.
Sanitizing Methods
- Vinegar Solution: The homemade kitchen mat cleaner mentioned earlier (1 part vinegar to 2 parts water) has mild sanitizing properties. Spray generously and allow it to air dry.
- Sunlight: UV rays from sunlight are a natural disinfectant. If possible, lay your mats out in direct sunlight for a few hours. Ensure they are completely dry afterward.
- Steam Cleaning: For mats that can tolerate heat, a steam cleaner can effectively kill bacteria and lift embedded dirt without harsh chemicals. Follow the manufacturer’s instructions carefully.
- Commercial Sanitizers: Look for sanitizing sprays specifically designed for fabrics or household surfaces. Always check if they are safe for your mat’s material.
Kitchen Mat Maintenance: Keeping Them in Top Shape
Good kitchen mat maintenance will prevent the need for frequent deep cleans and extend their lifespan.
Daily/Weekly Tasks
- Shake and Vacuum: Regularly shake out loose debris and vacuum your mats to prevent dirt from accumulating.
- Wipe Down: For non-fabric mats like anti-fatigue or rubber ones, a quick wipe-down with a damp cloth can remove daily spills.
- Address Spills Immediately: Don’t let spills sit. Blot them up as soon as they happen.
Periodic Deep Cleaning
- Follow Instructions: Refer to the care label for recommended washing frequencies.
- Rotate Mats: If you have multiple kitchen mats, rotating them can ensure even wear and allow them to be cleaned more systematically.
The Best Way to Clean Kitchen Rugs and Runners
Kitchen rugs and runners, often larger than typical mats, might require slightly different approaches to cleaning floor mats.
Washing Machine vs. Hand Washing
- Machine Washing: Most washable kitchen rugs and runners can be machine washed, provided they fit comfortably in your machine without overcrowding. Use the same gentle cycle and cold water recommendations as for smaller mats.
- Hand Washing: For larger or more delicate rugs, hand washing in a bathtub or using a hose outside might be necessary. For very large rugs, consider professional cleaning.
Cleaning Floor Mats: Beyond the Kitchen
The principles of cleaning floor mats extend to other areas of the house. Keep these tips in mind for doormats, bathroom mats, and more.
Homemade Kitchen Mat Cleaner Recipes
Creating your own cleaning solutions can be cost-effective and eco-friendly.
All-Purpose Kitchen Mat Cleaner
- 1 cup warm water
- 1 tablespoon white vinegar
- 1 teaspoon mild liquid dish soap
Instructions: Mix ingredients in a spray bottle. Shake well before each use. Spray onto the mat, let sit for a few minutes, then wipe clean with a damp cloth or scrub gently with a soft brush. Rinse and air dry.
Natural Degreaser
- 1/2 cup baking soda
- 1/4 cup water (add more if needed to form a paste)
Instructions: Mix baking soda and water to create a thick paste. Apply directly to greasy stains. Let it sit for at least 30 minutes, or overnight for tough grease, then brush or vacuum off.
Frequently Asked Questions (FAQ)
What is the best way to clean my anti-fatigue kitchen mat?
Anti-fatigue mats are typically made of foam or gel and should not be machine washed or submerged in water. The best way to clean them is to wipe them down with a damp cloth and mild soap. For tougher spots, use a soft brush and a mild cleaning solution, then wipe clean and allow to air dry. Avoid abrasive cleaners or excessive water, as this can damage the material.
Can I use bleach on my kitchen mats?
Generally, it’s best to avoid bleach unless the care label specifically states it’s safe. Bleach can weaken fibers, cause discoloration, and damage the backing of many kitchen mats. Opt for gentler cleaning agents like vinegar or mild dish soap.
How often should I deep clean my kitchen mats?
The frequency of deep cleaning depends on usage. For high-traffic kitchens with frequent spills, you might need to deep clean every 1-3 months. For lighter use, every 6 months might suffice. Regular daily or weekly spot cleaning and vacuuming will help reduce the need for frequent deep cleans.
My kitchen mat has a rubber backing, how should I clean it?
Mats with rubber backing are often best cleaned by hand or spot-cleaned. Machine washing can sometimes damage the rubber backing, causing it to crack or peel. If you do machine wash, use the gentlest cycle with cold water and avoid high heat in the dryer. Air drying is always the safest option.
How do I remove pet stains and odors from my kitchen mats?
For pet stains, the most effective method is to use an enzymatic cleaner specifically designed for pet accidents. These cleaners break down the organic matter causing stains and odors. Blot up excess liquid, apply the enzymatic cleaner generously, and allow it to air dry completely. You may need to repeat the process for stubborn odors.
How to clean a kitchen runner?
Kitchen runner cleaning often involves the same principles as cleaning smaller mats. If it’s machine washable, follow the care label. For larger or non-washable runners, vacuum thoroughly, spot clean stains with appropriate cleaners, and consider hand washing in a tub or with a hose if the material allows. Ensure thorough drying to prevent mildew.
By following these detailed steps and tips, you can ensure your kitchen mats stay clean, hygienic, and looking their best for years to come, contributing to a more pleasant and sanitary kitchen environment.