
Can you remove kitchen cabinets yourself? Yes, with the right tools and a bit of patience, you can successfully remove kitchen cabinets as part of your DIY kitchen remodel or for cabinet demolition. This comprehensive guide will walk you through the entire process, from preparation to safe disposal.
Removing kitchen cabinets might seem daunting, especially if you’re undertaking a kitchen renovation and tackling it as a DIY project. However, with careful planning and the right approach, it’s a manageable task. Whether you’re prepping for new cabinet installation or doing a full cabinet demolition, this guide will equip you with the knowledge and steps needed to get the job done efficiently and safely.
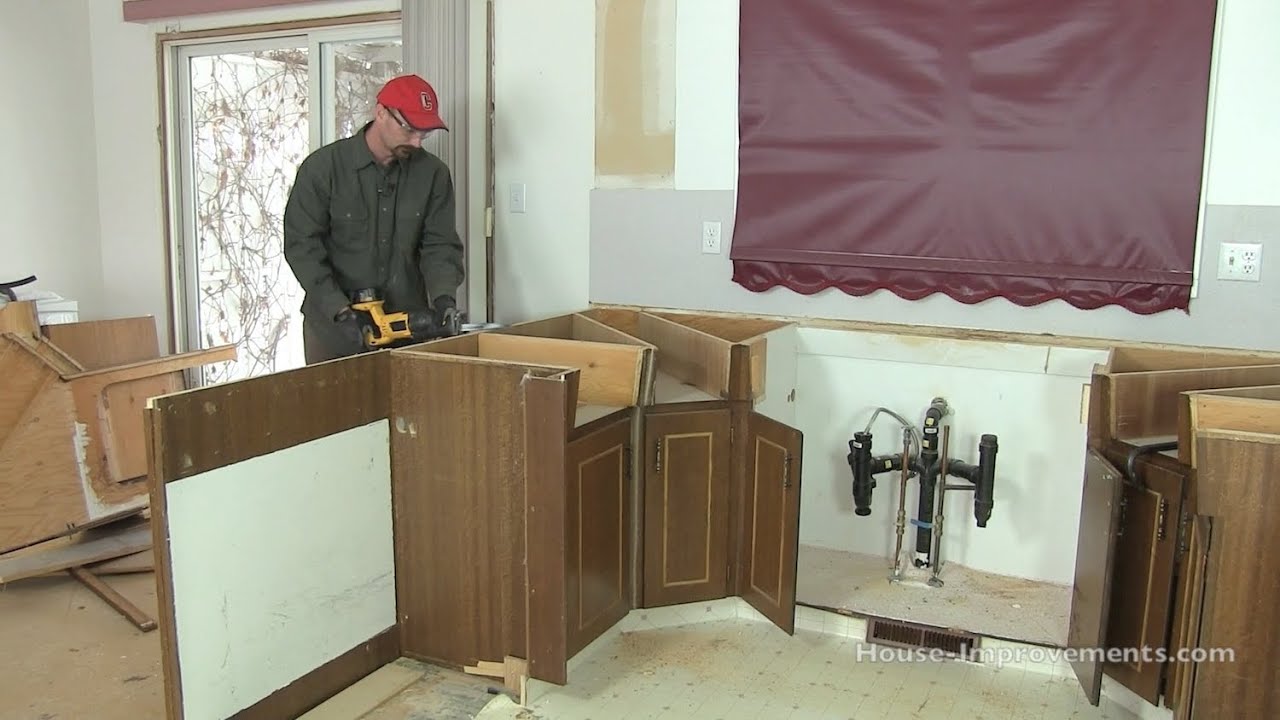
Image Source: i.ytimg.com
Preparing for Cabinet Removal
Before you even think about touching a cabinet, thorough preparation is key. This stage sets the foundation for a smooth and successful removal process. Skipping these steps can lead to frustration, damage to your home, or even injury.
Gathering the Necessary Cabinet Removal Tools
Having the correct tools is crucial for any DIY project, and cabinet removal is no exception. Using the right tools will not only make the job easier but also help prevent damage to your cabinets, countertops, backsplash, and surrounding walls.
Here’s a list of essential cabinet removal tools you’ll likely need:
- Screwdrivers: Phillips head and flathead screwdrivers in various sizes. A cordless drill/driver with interchangeable bits will significantly speed up the process.
- Pry Bar: A good quality pry bar (or a few different sizes) is essential for gently prying cabinets away from the wall and separating components.
- Putty Knife/Scraper: Useful for carefully separating cabinets from caulk or paint lines.
- Utility Knife: To score paint or caulk around the cabinets.
- Stud Finder: To locate wall studs, which is important for identifying where cabinets are securely attached.
- Level: To check if cabinets are installed plumb and level, which can sometimes indicate how they are attached.
- Measuring Tape: For noting dimensions of cabinets, especially if you plan to reuse or sell them.
- Safety Glasses: Protect your eyes from dust, debris, and flying particles.
- Work Gloves: Protect your hands from splinters and sharp edges.
- Dust Mask: Essential for preventing inhalation of dust and debris, especially during demolition.
- Drop Cloths/Tarps: To protect your floors and surrounding areas from dust and scratches.
- Buckets or Tool Bags: To organize screws and small hardware parts.
- Reciprocating Saw (Optional for Demolition): If you are doing cabinet demolition and not aiming for reuse, a reciprocating saw can quickly cut through mounting screws and even cabinet frames.
- Hammer: For light tapping to loosen stubborn cabinets or to assist with prying.
- Crowbar (Optional): For heavier prying if needed.
Protecting Your Kitchen Area
Your kitchen is a busy place, and removing cabinets will create a lot of dust and debris. Protecting your workspace is vital for a cleaner and safer experience.
- Clear the Space: Remove all items from the countertops and inside the cabinets. This includes dishes, food, small appliances, and any decorative items.
- Cover Appliances: If you have appliances like refrigerators or dishwashers that are staying, cover them with drop cloths to protect them from dust and potential scratches.
- Protect Flooring: Lay down drop cloths or tarps on the floor in the work area. Ensure they are secured so they don’t become a tripping hazard. Pay special attention to areas around doorways.
- Seal Off the Area (Optional): For extensive demolition or if you want to contain dust, consider sealing off the kitchen entrance with plastic sheeting and painter’s tape.
Disconnecting Utilities (If Applicable)
If your cabinets house or are connected to any utilities, these must be safely disconnected before you begin removal.
- Plumbing: If you have a sink in a base cabinet, you’ll need to shut off the water supply to the faucet. You’ll then need to disconnect the supply lines and the drainpipe. Have a bucket and towels ready to catch any residual water.
- Electrical: If cabinets have lighting or are wired into electrical outlets, you must turn off the power to that circuit at the breaker box. If you are unsure about electrical work, it’s best to consult a qualified electrician.
The Cabinet Removal Process: Step-by-Step
Now that you’re prepared, it’s time to get to work. The process generally involves removing doors and drawers first, then the hardware, and finally the cabinet boxes themselves.
Step 1: Removing Cabinet Doors and Drawers
This is the first logical step in cabinet disassembly. Removing doors and drawers makes the cabinet boxes lighter and easier to handle, and it also gives you better access to the mounting hardware.
- Open the Cabinet Door: Fully open the cabinet door you intend to remove.
- Locate Hinges: Hinges are typically attached to the cabinet door and the cabinet frame.
- Remove Doors from Hinges:
- Clip-on Hinges: Many modern cabinets have clip-on hinges. Usually, there’s a small release clip or lever on the hinge mechanism itself. Press this clip while holding the door, and the door should detach from the cabinet frame.
- Screw-on Hinges: Older cabinets might have hinges that are screwed directly into the door and frame. In this case, you’ll need your screwdriver. Often, you can remove the screws attaching the hinge to the cabinet frame. It’s helpful to have a second person support the door as you remove the last screw, or place a wedge or block underneath.
- Dowel Hinges: Some hinges have dowels that fit into holes. You might need to gently tap the hinge with a rubber mallet or pry it carefully.
- Remove Drawers:
- Slide-out Drawers: Most drawers slide out on metal or plastic runners. Extend the drawer fully. Look for a release lever or tab on the drawer slides. Push or pull this lever to disengage the drawer from the runner. Once disengaged, the drawer should slide out completely.
- Dovetail Drawers: If your drawers are older, they might be constructed with dovetail joints and slide on wooden runners. These can often be lifted and tilted out.
Tip: Label each door and drawer with its corresponding cabinet location using painter’s tape. This is especially helpful if you plan to reuse them or reassemble them later.
Step 2: Hardware Removal
Once the doors and drawers are off, it’s time to remove the hardware that secures the cabinet boxes to the wall. This is where your hardware removal skills come into play.
- Locate Mounting Screws: Cabinets are typically secured to the wall through the cabinet’s back or through mounting rails at the top and bottom of the cabinet box. Use your stud finder to help locate where the cabinets are attached to the wall studs.
- Unscrew Cabinets:
- Access Through the Back: For upper cabinets, the mounting screws are often accessed from the back of the cabinet. You might need to reach inside the cabinet to find them.
- Access Through the Top/Bottom Rails: Base cabinets and some upper cabinets may have mounting screws that go through a reinforced rail at the top or bottom, or even through the side panels into adjacent cabinets.
- Inter-cabinet Screws: Cabinets are often screwed together for stability. Look for screws that connect adjacent cabinet boxes, usually on the face frames or sides. You’ll need to remove these to separate individual cabinets.
- Use the Right Tools: Employ your screwdrivers or drill/driver to remove all visible screws. Keep the screws in a labeled bag or container for each cabinet.
- Check for Caulk/Paint: Often, cabinets are sealed to the wall with caulk or painted over. Before attempting to pull a cabinet away, use a utility knife to score around the edges where the cabinet meets the wall. This breaks the seal and prevents drywall damage.
Step 3: Removing Countertops and Backsplashes (If Attached)
If your cabinets have attached countertops or backsplashes, these often need to be removed first, as they can obstruct cabinet removal or be damaged in the process.
Countertop Removal
The method for countertop removal depends heavily on the type of countertop material and how it was installed.
- Laminate Countertops: Usually attached with screws from underneath, through the cabinet boxes into the underside of the laminate. They might also be secured with adhesive.
- Solid Surface Countertops (e.g., Corian): Often glued to the cabinets. You may need to gently pry them off or use a putty knife to break the adhesive bond.
- Granite/Quartz Countertops: These are typically heavy and attached with adhesive or clips. Removing these can be tricky and often requires two people. Screws might be used from clips underneath.
- Butcher Block Countertops: Usually screwed from underneath.
General Countertop Removal Steps:
- Check for Underside Attachment: Look for screws or clips that attach the countertop to the cabinet boxes from below.
- Score Adhesives: If the countertop is glued, carefully score the seam between the countertop and the cabinet with a utility knife.
- Pry Gently: Use a pry bar and a wood block to distribute pressure and gently lift the countertop. Work your way around, loosening any remaining attachments.
- Get Help: Heavy countertops require at least two people for safe removal.
Backsplash Removal
Backsplash removal is generally simpler but requires care to avoid damaging the wall.
- Score the Edges: Use a utility knife to cut through any caulk or grout along the top and side edges of the backsplash where it meets the wall or adjacent surfaces.
- Pry Carefully: For tile backsplashes, you might need to carefully pry away tiles or grout lines. A putty knife or a specialized grout saw can be useful here. For tile backsplashes adhered with thin-set mortar, you might be able to pry them off in larger sections with a putty knife or pry bar.
- Adhesive Backsplashes: If the backsplash is adhesive-backed, it might peel off more easily.
- Protect the Wall: Be mindful of the drywall behind the backsplash. Gentle prying is crucial to avoid gouging the wall.
Step 4: Detaching and Removing Cabinet Boxes
With doors, drawers, hardware, and any attached surfaces removed, the cabinet boxes are ready to come off the wall.
- Assess for Remaining Connections: Double-check for any screws or fasteners you might have missed. Look for connections to adjacent cabinets or the wall.
- Gentle Prying: Start by gently trying to pull the cabinet away from the wall. If it doesn’t budge, it means there are still screws or clips holding it.
- Use a Pry Bar: Insert your pry bar between the cabinet and the wall (or a sturdy backing board if present) and gently pry. Work your way along the cabinet, loosening it gradually. Use a wood block to protect the wall from the pry bar.
- Have a Helper: For larger or heavier cabinets, it’s highly recommended to have a second person to help support the cabinet as it detaches and to guide it away from the wall.
- Lower Carefully: Once a cabinet is free, carefully lower it to the floor.
- Stacking: If you are removing multiple cabinets, stack them carefully on your drop cloths to prevent damage.
Step 5: Removing Base Cabinets
Base cabinets are generally attached to the wall through their back or through mounting rails. They might also be secured to each other and to the countertop.
- Remove Countertop First: As mentioned, ensure the countertop is completely detached and removed.
- Check for Wall Fasteners: Look for screws going through the back of the cabinet into wall studs or through a front or back mounting rail.
- Check for Plumbing/Electrical: Ensure any plumbing or electrical connections that might have passed through the cabinet space have been safely disconnected.
- Remove Inter-cabinet Screws: Base cabinets are usually screwed to each other. Remove these screws located on the face frames or sides of the cabinet boxes.
- Pry and Remove: Similar to upper cabinets, use a pry bar to gently loosen the base cabinets from the wall. They are typically heavier due to the countertop and their position, so having a helper is strongly advised.
Special Considerations for Cabinet Demolition
If your goal is cabinet demolition rather than careful removal for reuse, the process can be more direct.
- Tools: A reciprocating saw can be very effective for quickly cutting through mounting screws and even the cabinet frames themselves. A sledgehammer might be used for more aggressive demolition, but exercise extreme caution to protect surrounding areas.
- Prioritize Safety: Wear a dust mask and safety glasses. Be aware of plumbing and electrical lines within the walls that might be exposed during demolition.
- Sequential Approach: Even in demolition, it’s often wise to remove doors and drawers first to make the cabinet boxes lighter and easier to manage.
Post-Removal: Cleanup and Disposal
Once the cabinets are off the walls, the job isn’t quite finished. You’ll need to clean up the mess and dispose of the old cabinets properly.
Cleaning Up the Work Area
- Sweep and Vacuum: Thoroughly sweep and vacuum the entire work area to collect all dust, debris, and stray screws.
- Wipe Down Walls: Use a damp cloth or sponge to wipe down the walls and any exposed surfaces to remove dust residue.
- Inspect Walls: Check the walls for any damage that might have occurred during removal. Patching or repairs can be addressed now.
Cabinet Disposal
Proper cabinet disposal is an important final step.
- Donate or Sell: If your cabinets are still in good condition, consider donating them to a local Habitat for Humanity ReStore or selling them online. This is a great way to reduce waste and help others.
- Recycling Centers: Some areas have specific recycling centers that accept salvaged building materials.
- Junk Removal Services: If the cabinets are damaged or you have a lot of debris, a junk removal service can haul everything away for you.
- Landfill: If other options aren’t feasible, you can dispose of them at your local landfill, but be aware of any fees or regulations.
Frequently Asked Questions About Removing Kitchen Cabinets
Here are some common questions people have when embarking on this project.
Q1: How long does it take to remove kitchen cabinets?
A1: The time it takes can vary greatly depending on the size of your kitchen, the type of cabinets, and whether you’re doing a careful removal or demolition. For a standard-sized kitchen, removing cabinets can take anywhere from a few hours to a full day. If you’re doing a DIY kitchen remodel and are meticulous, it might take longer.
Q2: Can I remove kitchen cabinets without damaging the walls?
A2: Yes, with careful work. Scoring caulk lines, using a putty knife to gently break seals, and employing a pry bar with a protective wood block will minimize wall damage. Take your time and have a helper to support the cabinet as it detaches.
Q3: What if my cabinets are glued to the wall?
A3: If cabinets are glued, you’ll need to be more aggressive with your prying. A utility knife can help break adhesive seams. A thin putty knife or a specialized scraper might be needed to work into the gap and loosen the bond. Be prepared for a bit more wall repair afterward.
Q4: Do I need to remove the countertop before the base cabinets?
A4: Absolutely. Countertops are typically attached to the base cabinets, and you won’t be able to safely remove the cabinets without first removing the countertop.
Q5: What’s the best way to handle old screws and hardware?
A5: Keep all screws, hinges, and other hardware organized. Label small bags with the cabinet or location they came from. This is especially important if you plan on reusing them or if you need to identify specific types of fasteners.
Q6: Can I reuse my old kitchen cabinets?
A6: If your cabinets are in good condition, you absolutely can reuse them. Many people find success in repainting, refinishing, or refacing them for a refreshed look. Always label doors and drawers during removal to ensure proper reassembly.
Conclusion: A Rewarding DIY Project
Removing kitchen cabinets is a significant step in any kitchen renovation. While it requires careful preparation, the right cabinet removal tools, and methodical execution, it’s a highly achievable DIY project. By following these steps, you can ensure a safe and efficient process, whether you’re embarking on cabinet demolition or preparing for new cabinet installation. The satisfaction of tackling this task yourself can be immense, paving the way for your dream kitchen.